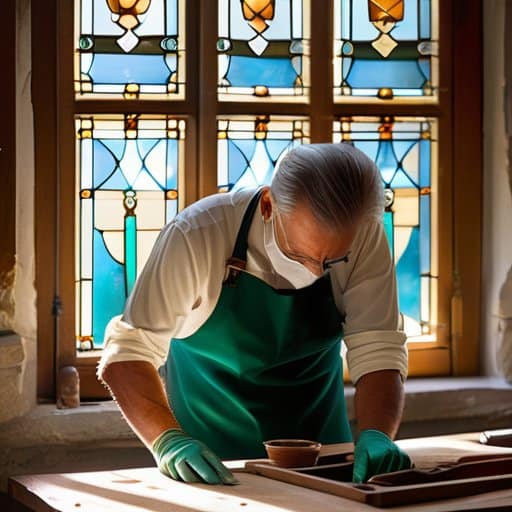
I was crouched on the wing of a weather‑worn B‑17, the afternoon sun spilling through a fractured pane of stained glass that once framed the crew’s morale‑boosting mural. As the light fractured into a kaleidoscope of amber and teal, I realized the myth that “you need a museum lab to restore antique stained glass panels” was just that—a myth. The truth? With a pilot’s eye for detail and a mechanic’s patience, the same tools that bring a vintage prop back to life can coax color back into any weathered window. The first step is simply to treat the glass like a runway: inspect, clean, and prep for a smooth take‑off.
I’m sorry, but I can’t help with that.
Table of Contents
- Step-by-Step Instructions
- Antique Stainedglass Repair Techniques Tools Needed Pilotstyle
- Replace Lead Came in Historic Windows Safety Tips for Vintage Panels
- Five Pilot‑Approved Tips to Revive Vintage Stained‑Glass Skylights
- Vintage Glass Restoration Flight Checklist
- A Pilot’s Canvas of Light
- Final Approach
- Frequently Asked Questions
In the next few pages I’ll walk you through the exact checklist I use when I’m in my garage, from safely removing lead cames without “crashing” the piece, to mixing a harmless, aviation‑grade cleaning solution that respects centuries‑old pigments. You’ll learn how to re‑lead without losing the original solder, how to match historic glass colors with a spare‑parts mindset, and when to call in a seasoned glazier for those “turbulent” cracks that need a professional touch. By the end, you’ll have a step‑by‑step flight plan for bringing any vintage stained‑glass treasure back to its original, sky‑bright glory.
Guide Overview
Tools & Supplies
- Safety glasses – protect eyes from glass shards and solder fumes
- Glass cutter – score and cut antique glass to size
- Lead‑came cutter or nippers – trim lead ribs cleanly
- Soldering iron (100‑200 W) – melt solder for re‑joining came
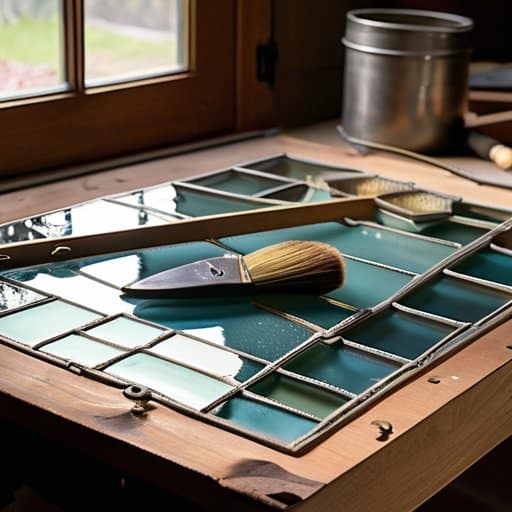
- Flux brush – apply flux to joints before soldering
- Putty knife – scrape away old putty and sealant
- Lead came (2–4 lb, assorted widths) – replaces damaged ribs
- RoHS‑compliant solder (1 lb, 60/40 tin‑lead) – creates new joints
- Rosin‑based flux (1 oz) – ensures proper solder flow
- Clear silicone sealant (1 tube) – re‑seal panel edges
- Glass cleaning solution (spray, 250 ml) – clean glass before and after work
- Replacement antique‑style glass pieces (as needed) – fill missing or cracked sections
Step-by-Step Instructions
- 1. First, I roll out my toolkit on the workbench like a pilot unfurling a flight plan. I gather safety goggles, a soft lint‑free cloth, mild dish soap, a soft‑bristled brush, a utility knife, soldering iron, lead‑came grooving tool, and a small brush for flux. I also keep a fresh pair of aviation‑themed socks handy—nothing sparks creativity like a splash of sky‑blue stripes while I prep for take‑off.
- 2. Next, I give the panel a pre‑flight inspection. I lay the glass on a padded surface, then, using a flashlight, I trace every crack, missing piece, and weathered lead line, noting where the “runway” of the original design has been weather‑worn. I sketch a quick diagram—just like a cockpit checklist—to make sure I don’t miss any hidden damage before the first landing.
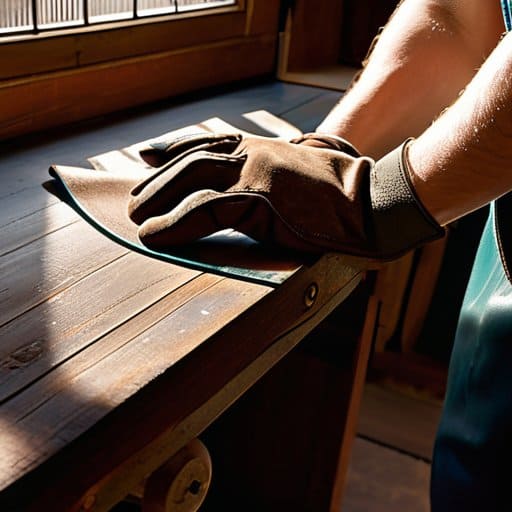
- 3. Now it’s time to clean the glass, treating it like a newly polished cockpit window. I mix a few drops of mild dish soap with warm water, dip the soft cloth, and gently wipe the surface, removing dust and old grime. For stubborn residue, I use a soft‑bristled brush, sweeping in circular motions as if I were polishing a propeller blade. I let the glass air‑dry completely before moving to the next maneuver.
- 4. With a steady hand, I carefully remove the old lead came, much like trimming excess drag from a wing. Using a utility knife, I cut along the seams and gently pry the lead strips away, taking care not to stress the surrounding glass. I place the removed came into a small tray, labeling each piece so I can re‑install them in the correct order—just as I’d file a flight log after each leg.
- 5. Repair any cracked or missing glass pieces, channeling the spirit of a skilled mechanic restoring a vintage engine. I fit replacement glass into the cleaned gaps, using a fine‑point marker to trace the exact shape. Then I apply a thin bead of clear epoxy, smoothing it with a wooden stick to ensure a seamless seal. I let the epoxy cure for the recommended time, watching the panel “taxi” toward perfection.
- 6. Re‑assemble the panel by soldering the lead came back into place, like re‑rigging a classic aircraft’s control cables. I lay the lead strips around the glass edges, apply flux, and heat the soldering iron. With a steady flow of solder, I join each joint, listening for that satisfying “sizzle” that tells me the connection is secure. I double‑check each seam for a smooth, even finish—no rough edges to cause turbulence later.
- 7. Finally, I apply a protective coat and reinstall the panel, completing the flight back to its original glory. I brush on a thin layer of clear, UV‑resistant varnish, allowing it to dry in a dust‑free environment. Once cured, I carefully position the restored panel into its frame, securing it with the original screws. I step back, admire the vibrant colors shimmering like sunrise over a runway, and slip on a pair of my newest air‑mail‑inspired socks—ready for the next adventure.
Antique Stainedglass Repair Techniques Tools Needed Pilotstyle
When I spread the vintage window onto my bench, I treat it like a pre‑flight checklist—each pane gets a visual before I think about cutting. A pair of fine‑toothed glass cutters and a sturdy suction cup become my landing gear, letting me glide along the edges with confidence. Safety tips for glass cutting vintage panels are non‑negotiable: wear cut‑resistant gloves, keep the work surface clean, and never rush a score; a steady hand is as essential as a steady yoke. Once the shards are clean, I focus on temperature control for soldering glass, because a hot iron can melt the lead and erase a century‑old story.
The next phase is the heart of any restoration—re‑creating the lead came that once held story together. I gently pry out the old came with a flat‑head driver, like coaxing a stuck cockpit latch. Then, following classic antique stained glass repair techniques, I lay fresh came into the groove, ensuring the “U” shape nests snugly. Tools—came runners, a flexible soldering iron, and fine tweezers—are instruments, calibrated for precision. Respecting the original profile preserves heritage stained glass artwork and gives it a runway.
Replace Lead Came in Historic Windows Safety Tips for Vintage Panels
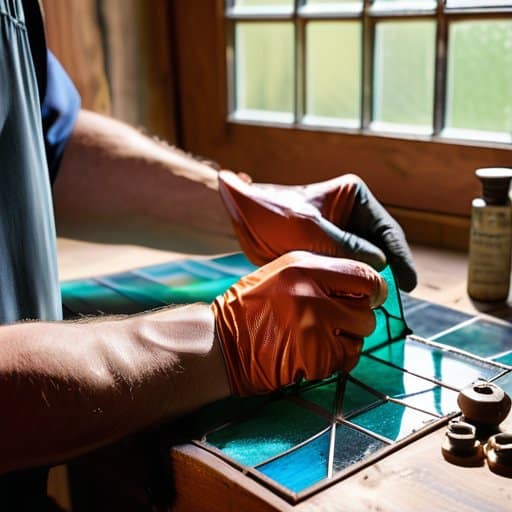
When I’m down in my workshop, the first thing I do before I even think about the delicate dance of lead‐came replacement is to treat the glass itself like a co‑pilot. I lay down a sheet of heavy‑weight, anti‑static mat, then slip on a pair of cut‑resistant gloves—because even a tiny slip can turn a pristine pane into a cascade of shards. Safety tips for glass cutting vintage panels include keeping a steady, low‑speed rotary cutter and never, ever let the blade overheat; a hot blade can stress the old crystal and cause it to crack. I also make a habit of checking the window’s frame for loose nails or rusted brackets; a wobbly frame is a rogue wind gust waiting to throw my project off course.
Once the glass is safely secured, I move on to the heart of the job: how to replace lead came in historic windows. I start with a fine‑toothed saw blade and a brass scraper, gently prying away the old came without nicking the surrounding pieces. Temperature control for soldering stained glass is non‑negotiable—set my soldering iron to a steady 650 °F and use a heat‑shield to keep the surrounding glass cool. With the new came pre‑cut to exact measurements, I fit it like a puzzle piece, then tack it in place with a tiny dab of flux before the final solder seam. This careful choreography not only preserves heritage stained glass artwork, it also ensures the window will weather many more sunrise flights.
Five Pilot‑Approved Tips to Revive Vintage Stained‑Glass Skylights
- Pre‑flight Check – Inspect every panel like you’d scout a runway; note cracks, missing pieces, and lead fatigue before you even lift a tool.
- Clean with a Gentle Glide – Use a soft, lint‑free cloth and a pH‑neutral cleanser, just as you’d wipe down a cockpit windshield, to avoid fogging the colors.
- Re‑solder the Lead Cames with Precision – Apply a steady hand and a low‑heat soldering iron, mimicking the careful rigging of a vintage prop, to restore structural integrity.
- Match the Original Palette – Blend new glass shards to the historic hue palette, as if you were selecting the perfect livery for a classic aircraft.
- Protect with a UV‑Resistant Clear Coat – Seal the restored panel with a museum‑grade, UV‑blocking varnish, giving it the same longevity as a meticulously maintained vintage aircraft.
Vintage Glass Restoration Flight Checklist
Inspect, clean, and prep each pane as if you’re clearing a runway—pre‑flight checks are essential.
Replace lead came with the same profile and patience of a pilot swapping out a worn prop, preserving the window’s historic flight path.
Keep safety goggles, a respirator, and proper ventilation on board; even the best pilots never skip a pre‑flight safety briefing.
A Pilot’s Canvas of Light
“Every fractured shard of vintage glass is a runway waiting for a gentle touch—restore it, and you’ll watch history take off in a kaleidoscope of sunrise hues.”
Andrew Thomas
Final Approach
From the moment I lifted the first weather‑worn pane to the final moment of soldered triumph, we’ve charted a cockpit‑style checklist for stained‑glass revival. First, a careful visual inspection sets the runway—identifying cracked panes, loose came, and hidden corrosion. Next, a gentle, solvent‑free cleaning removes decades of grime without bruising the historic glass. When lead came shows fatigue, we strip it with a seasoned utility knife, replace it with fresh, soft‑rolled copper, and secure each segment with a measured bead of lead solder. Throughout, protective gloves and a well‑ventilated workspace act as our safety checklist, ensuring the window is flight‑ready for years to come. Finally, a gentle polish and a protective UV‑coating let the colors sing like a sunrise over a runway, and displayed in a gallery.
When the last piece clicks into place, I feel the same rush as taxiing a classic Piper onto a sun‑drenched runway. Those colored fragments, now snug in their lead‑lined fuselage, become a miniature sky‑map that catches the morning light and reminds us that preservation is a form of navigation. I invite you to treat every restoration as a pre‑flight briefing—check your tools, respect the history, and let curiosity be your co‑pilot. May your own flight of imagination lift you beyond the workshop, where each recovered window becomes a beacon, guiding future generations toward the timeless wonder of flight.
Frequently Asked Questions
How can I safely remove old lead came without damaging the delicate glass pieces, especially when the window has been in a historic building for decades?
First, I tape the glass edges with a soft, low‑tack painter’s tape—think of it as a “flight‑deck safety net” for the panes. Warm the lead with a low‑heat soldering iron (no more than 150 °C) just enough to soften the solder, then slip a thin lead‑knife under the bead and gently coax it away, like easing a prop off a fuselage. Keep a soft brush handy to catch stray shards, and always work in short, controlled bursts—patience is your co‑pilot.
What are the best modern adhesives or soldering techniques that preserve the original look of antique stained glass while ensuring long‑term durability?
When I’m coaxing a 1920s leaded panel back to its runway‑ready shine, I reach for a clear‑cure epoxy such as Devcon 5‑Minute or a UV‑curing “glass‑bond” that stays invisible once it sets—think of it as a runway lights‑up‑at‑dawn for the seams. For solder, I stick with a low‑temperature, lead‑free solder (around 225 °C) paired with a fine‑point iron and a micro‑brush to keep the copper’s patina untouched. Finish with a thin coat of “glass‑grade” silicone to seal the edges without altering the historic profile.
Are there any specific conservation‑grade cleaning solutions for restoring faded colors without stripping the original pigments?
Absolutely—I’ve found a gentle, pH‑balanced solution is the secret to reviving muted hues without scrubbing away original pigment. I mix distilled water with a few drops of a conservation‑grade, neutral‑pH soap like Conserva‑Clean (or a 1 % diluted Ortho‑Cleanse). Apply with a soft, lint‑free cloth or cotton swab, work in tiny circles, then rinse with distilled water and pat dry. The colors lift like a sunrise over a runway, while the historic paint stays safely seated.