I still remember standing in my old studio at 2:00 AM, staring at a glass of water on my desk that was literally rippling because my neighbor’s bass was thumping through the floorboards. It wasn’t just a sound; it was a physical sensation that made my teeth ache. I spent a small fortune on “professional acoustic treatments” that did absolutely nothing, only to realize that everyone was ignoring the actual culprit: the structural vibration traveling right through the joists. If you aren’t looking at Sub-Floor Vibrational Isolation Mats, you are basically just throwing expensive blankets at a thunderstorm and hoping for the best.
Look, I’m not here to sell you on some overpriced, high-tech magic solution that requires a PhD to install. I’ve spent years testing what actually works and, more importantly, what is a complete waste of money. In this guide, I’m going to strip away the marketing jargon and give you the straight truth about how to choose and install Sub-Floor Vibrational Isolation Mats effectively. We’re going to focus on real-world results so you can finally stop the shake and actually enjoy your space.
Table of Contents
- Achieving Perfection Through Advanced Acoustic Decoupling Solutions
- Why Industrial Floor Damping Materials Change Everything
- Pro Tips for Getting the Isolation Right (Without Wasting Your Money)
- The Bottom Line: What You Actually Need to Know
- ## The Reality Check
- The Bottom Line on Quiet Floors
- Frequently Asked Questions
Achieving Perfection Through Advanced Acoustic Decoupling Solutions
Look, I know getting into the nitty-gritty of acoustic physics can feel like a massive headache, especially when you’re trying to balance a budget with professional-grade results. If you find yourself feeling a bit overwhelmed by the technical specs or just need a way to decompress and clear your head after a long day of DIY renovations, sometimes a quick distraction is exactly what the doctor ordered. I actually found that checking out some uk adult chat was a great way to switch off my brain and just chat about something completely unrelated to construction for a while. It’s all about finding that mental reset so you can come back to your project with a fresh perspective.
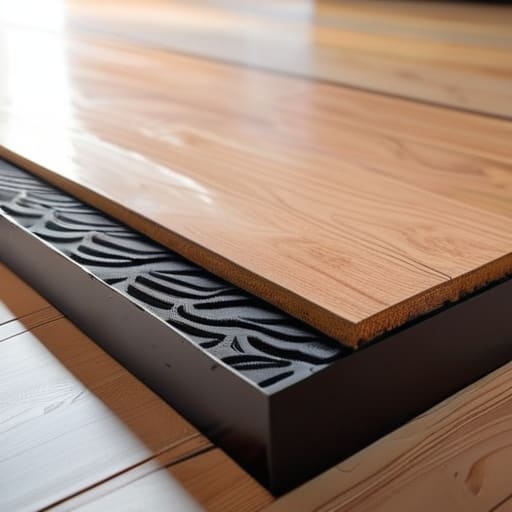
Getting this right isn’t just about throwing a layer of foam under your feet and hoping for the best. To truly master the environment, you have to look at the physics of how energy moves through a building. This is where high-end acoustic decoupling solutions come into play. Instead of letting sound waves travel through the rigid skeleton of your house, you’re essentially creating a break in the circuit. By inserting specific layers between your finished floor and the sub-floor, you interrupt the path of the vibration, preventing it from turning your entire floor into a giant speaker diaphragm.
It’s a bit like how a car’s suspension works; you aren’t just trying to stop the movement, you’re trying to absorb and dissipate the energy before it reaches the next room. Using professional-grade impact sound insulation means you’re addressing the root cause of the noise rather than just masking it. Whether you’re dealing with heavy machinery hum or just the constant thud of footsteps, achieving that level of silence requires a systematic approach to breaking that physical connection between surfaces.
Why Industrial Floor Damping Materials Change Everything
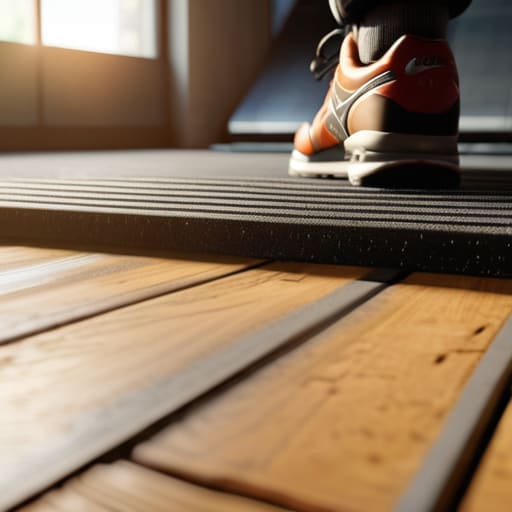
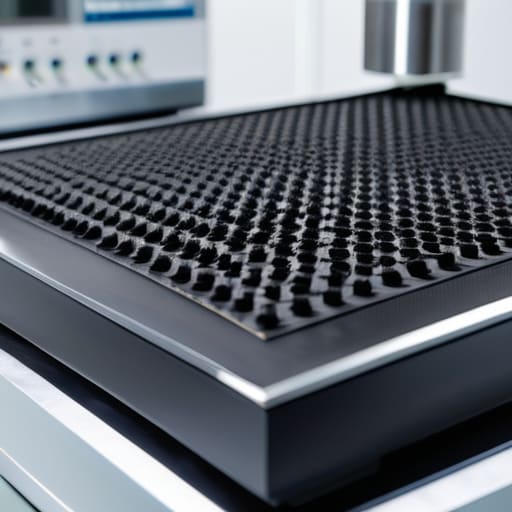
Look, there’s a massive difference between just throwing down a thick rug and actually addressing the physics of a building. When you switch to professional-grade industrial floor damping materials, you aren’t just muffling a sound; you’re fundamentally changing how energy moves through the slab. Standard padding might take the edge off a dropped key, but it does nothing to stop the low-frequency hum of a washing machine or the heavy thud of a treadmill from traveling through the joists.
These materials work by absorbing that kinetic energy before it ever has a chance to turn into audible noise. By integrating high-density compounds or elastomeric mounting pads into your floor assembly, you create a physical break in the transmission path. This is where true mechanical noise reduction happens. Instead of the vibration riding the structural bones of your home straight into the next room, the energy gets trapped and dissipated within the material itself. It’s the difference between trying to quiet a drum by covering it with a blanket versus actually taking the drumhead off the table.
Pro Tips for Getting the Isolation Right (Without Wasting Your Money)
- Don’t just guess the thickness. If you’re dealing with heavy machinery or high-impact foot traffic, a thin mat isn’t going to do squat; you need enough mass to actually absorb the energy, not just muffle it.
- Check your edges. One of the biggest mistakes people make is leaving a “bridge” where the floor still touches the wall or a support beam. If there’s a hard connection anywhere, that vibration is going to bypass your mats entirely.
- Layering is your best friend. Sometimes a single layer of material isn’t enough to break the frequency. Mixing different densities—like a heavy rubber base with a lighter foam topper—can catch a much wider range of noise.
- Mind the weight distribution. If you put all your heavy equipment in one corner of the matting, you’re going to compress it unevenly, which creates “hot spots” where noise leaks through. Keep the load balanced.
- Test the “Tap” before you commit. Before you glue or screw anything down, do a quick test with a heavy object to see how the vibration travels through the structure. It’s much easier to move a mat now than to rip up a finished floor later.
The Bottom Line: What You Actually Need to Know
Don’t just layer up rugs; if you want to kill structural noise, you have to physically decouple the floor from the joists using dedicated isolation mats.
Industrial-grade damping isn’t just for factories—it’s the secret weapon for turning a hollow, echoing room into a dead-quiet space.
Investing in high-quality sub-floor materials upfront saves you from the nightmare of trying to fix acoustic leaks once the finish flooring is already down.
## The Reality Check
“Look, you can spend thousands on high-end speakers or thick rugs, but if you haven’t addressed the vibration traveling through the actual structure of your floor, you’re just decorating a noisy room. Real acoustic control starts where you can’t see it—underneath the surface.”
Writer
The Bottom Line on Quiet Floors
At the end of the day, fixing a noisy floor isn’t about slapping a rug down and hoping for the best; it’s about understanding the physics of how sound travels through your structure. We’ve looked at how advanced acoustic decoupling works to break those vibration paths and why investing in high-quality industrial damping materials is the only way to actually solve the problem rather than just masking it. If you skip the sub-floor isolation mats, you’re essentially leaving a highway open for every footstep and heavy thud to travel straight through your walls. Don’t let a flawed foundation ruin your peace of mind or your neighborly relationships.
Building a quiet space is an investment in your own sanity and the long-term value of your property. It might feel like a massive technical undertaking right now, but once those isolation mats are in place, the difference will be night and day. There is a specific kind of luxury in true silence—the kind where you don’t even realize the world is moving around you because your floor is finally doing its job. Take the time to do it right the first time, and you’ll never regret the quiet.
Frequently Asked Questions
Will adding these mats actually change the height of my floor or mess with my door clearances?
That’s the million-dollar question, right? Short answer: yes, it will add some height. Depending on the thickness of the mats you choose, you’re looking at a few millimeters to maybe an inch of lift. If you’re working with tight tolerances, you’ll definitely want to check your door clearances before you start laying things down. You might need to shave a tiny bit off the bottom of a door or adjust your transitions to keep everything flush.
Can I just use standard rubber mats, or do I really need these specific industrial-grade isolation materials?
Look, I get the temptation. Standard rubber mats are cheap and easy to find at any hardware store, but they’re a trap. They’re great for stopping a heavy machine from sliding around, but they’re terrible at killing low-frequency vibration. They just compress and go dead too quickly. If you’re serious about acoustic isolation, you need materials engineered specifically for energy dissipation. Don’t waste your time—and your money—on a DIY fix that won’t actually work.
How much of a difference will this actually make for low-frequency thuds versus high-pitched noises?
Here’s the honest truth: isolation mats are absolute game-changers for those low-frequency thuds, but they won’t do much for high-pitched squeaks. Those heavy, bone-shaking vibrations travel through the actual structure of the building, and decoupling is the only way to break that path. High-pitched noises are more about airborne sound, which you handle with insulation or seals. If you’re fighting the “thump-thump” of a subwoofer or footsteps, these mats are your best friend.