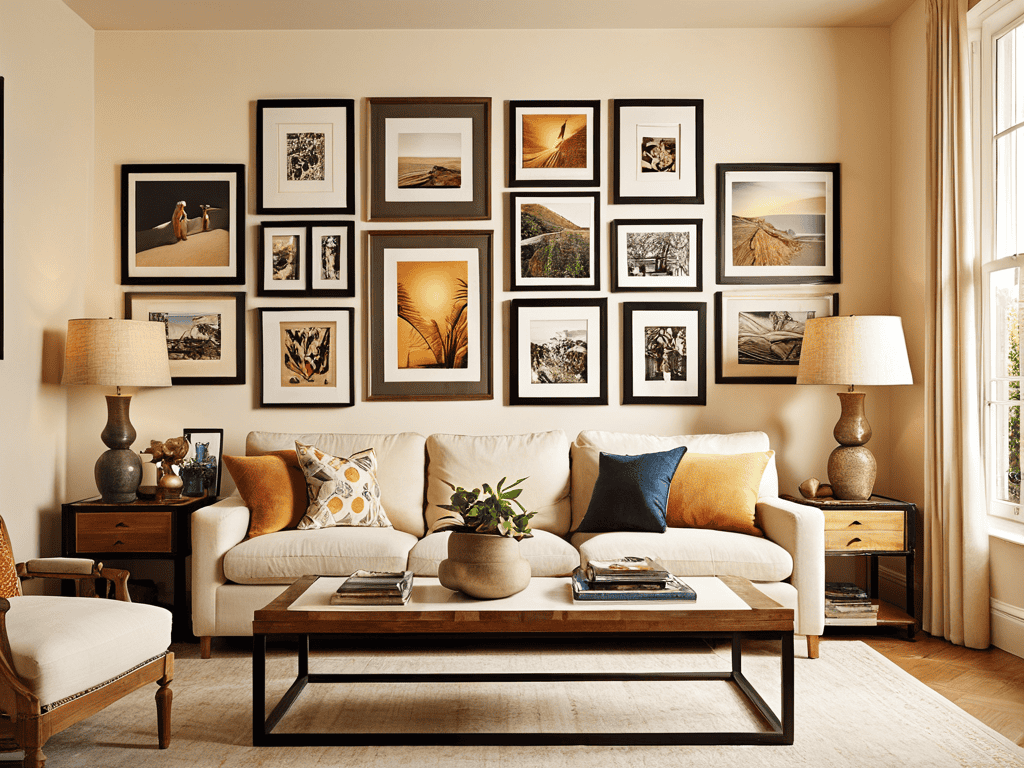
I still remember the day I decided to create a DIY picture wall in my living room – it was a moment of pure chaos, with frames scattered all over the floor and a vague idea of what I wanted to achieve. The common myth is that making a DIY picture wall is a tedious, time-consuming task that requires a lot of planning and precision, but I’m here to tell you that it’s not as complicated as it seems. With a little creativity and patience, you can create a stunning DIY picture wall that reflects your personality and adds a touch of warmth to your home.
In this article, I’ll share my personal experience and provide you with practical tips on how to create a beautiful DIY picture wall without any hassle. You’ll learn how to choose the right frames, arrange your photos in a way that tells a story, and hang your masterpiece on the wall without damaging it. I’ll also share some helpful tricks I’ve learned along the way, from using a level to ensure everything is straight to experimenting with different frame styles and sizes. By the end of this article, you’ll be equipped with the knowledge and confidence to create your own unique DIY picture wall that you’ll cherish for years to come.
Table of Contents
Guide Overview: What You'll Need
Total Time: 2 hours 30 minutes
Estimated Cost: $50 – $100
Difficulty Level: Intermediate
Tools Required
- Hammer
- Tape Measure
- Level
- Pencil
- Nail Gun (optional)
- Drill (for hanging heavy frames)
- Stud Finder
Supplies & Materials
- Picture Frames Assorted sizes
- Nails 1 inch or 2 inches
- Hanging Wire
- D-Rings
- Wall Anchors (for heavy frames)
- Measuring Tape
- Pencil Lead (for marking walls)
Step-by-Step Instructions
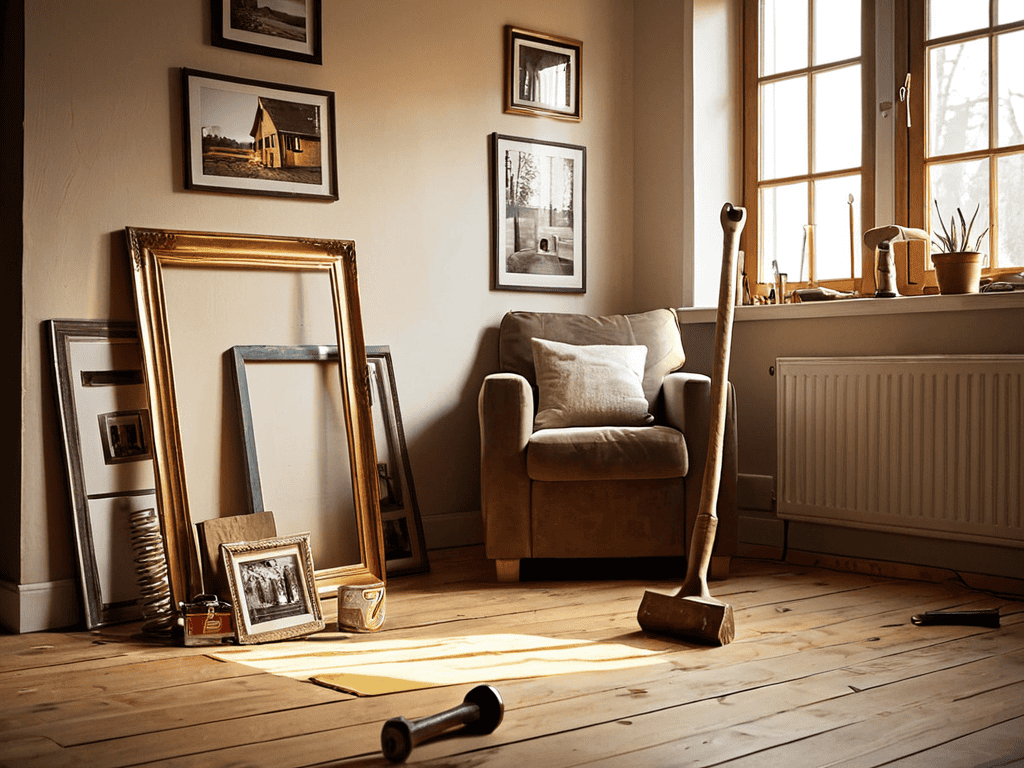
- 1. First, let’s start by gathering all the essential materials we’ll need for our DIY picture wall. This includes a variety of framed photos, a level, a pencil, a measuring tape, and a wall-friendly adhesive like command strips or 3M picture hanging strips. Make sure you have a mix of frame sizes and styles to add some visual interest to your wall.
- 2. Next, we need to decide on a layout strategy for our pictures. You can use a piece of graph paper to sketch out a rough plan, or you can use an online room planner tool to get a better sense of the space. Consider the size and shape of your wall, as well as the location of any windows, doors, or other features that might impact your design.
- 3. Now it’s time to start preparing your photos for hanging. This means dusting off those old frames, polishing any that need it, and making sure all the pictures are level and secure in their frames. If you have any particularly heavy or large frames, consider using extra support or reinforcement to ensure they stay put on the wall.
- 4. With your photos ready, it’s time to create a focal point for your DIY picture wall. This might be a particularly large or striking image, or a group of frames that form a visual centerpiece. Use your level and pencil to lightly mark the spot where you want to place your focal point, taking care not to press too hard and damage the wall.
- 5. Once you have your focal point in place, you can start adding frames around it. Work your way outwards from the center, using your measuring tape and level to ensure that each frame is properly aligned and spaced. Don’t be afraid to step back and evaluate your progress as you go – it’s easier to make adjustments now than it will be later.
- 6. As you continue to add frames, pay attention to the visual balance of your DIY picture wall. You want to create a sense of harmony and cohesion, rather than a cluttered or chaotic look. Consider the colors, textures, and styles of your frames, and try to distribute them in a way that creates a sense of flow and movement.
- 7. Finally, take a step back and evaluate your handiwork. Make any necessary adjustments to the placement or alignment of your frames, and take pride in the fact that you’ve created a unique and personalized DIY picture wall that reflects your personality and style. With a little patience and creativity, you can enjoy your new wall art for years to come.
Crafting Diy Picture Wall
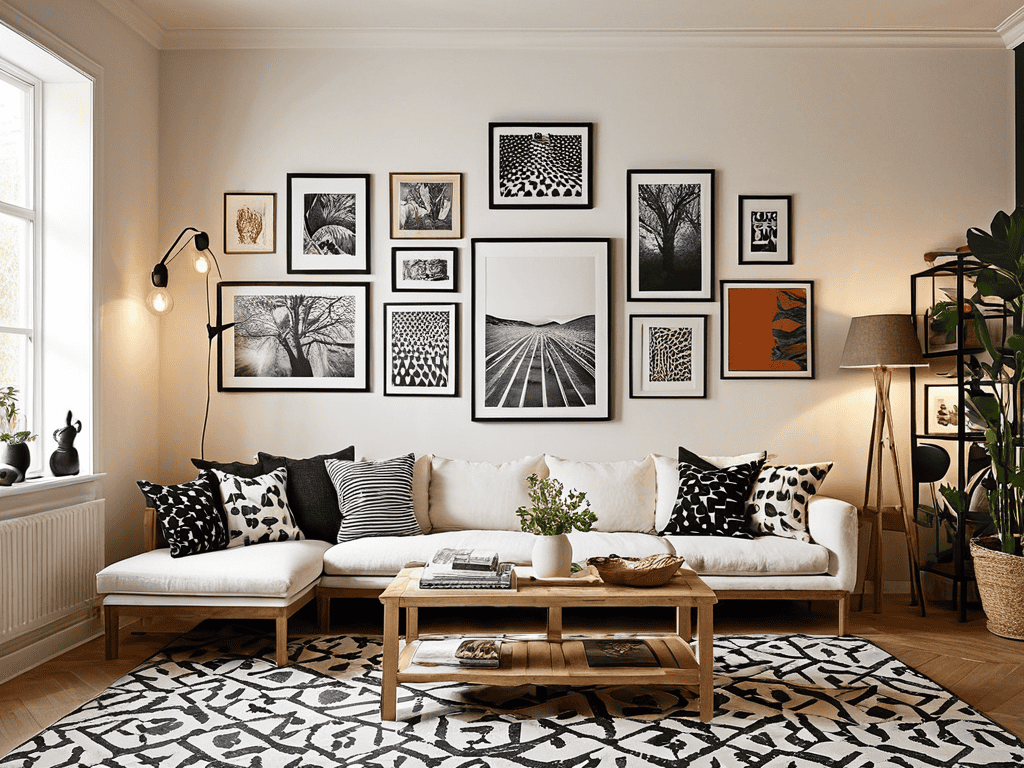
When creating a gallery wall, it’s all about experimentation and having fun. Don’t be afraid to try out different layouts and arrangements until you find the one that works best for you. Mixing frame styles and sizes can add a lot of visual interest to your wall collage, so don’t be shy about combining different shapes and textures.
To take your wall collage to the next level, consider hanging pictures without nails using adhesive strips or command hooks. This is a great way to avoid damaging your walls and makes it easy to rearrange your photos as needed. You can also find plenty of wall collage inspiration online, from minimalist grids to eclectic mashups of frame styles and sizes.
For a truly unique look, try incorporating decorative frame ideas into your design, such as ornate gold frames or vintage wooden frames. This can add a lot of personality to your space and help tie together different elements of your decor. By following these easy picture hanging tips, you can create a beautiful and personalized space that reflects your style and personality.
Creating Gallery Wall Magic
As you’re putting the final touches on your DIY picture wall, you might be wondering how to find more inspiration or connect with like-minded crafty individuals who share your passion for unique home decor. If you’re looking for a platform to discover new ideas or showcase your own creations, I highly recommend checking out nzgirls – it’s an amazing resource that can help you stay up-to-date with the latest trends and get feedback from a community that’s just as enthusiastic about DIY projects as you are.
Now that we’ve got the basics covered, let’s dive into the fun part – creating that gallery wall magic. This is where your DIY picture wall transforms from a bunch of frames on a wall to a stunning visual story. Think about the vibe you want to create: is it a nostalgic family gallery, a vibrant travel memoir, or a sleek minimalist showcase?
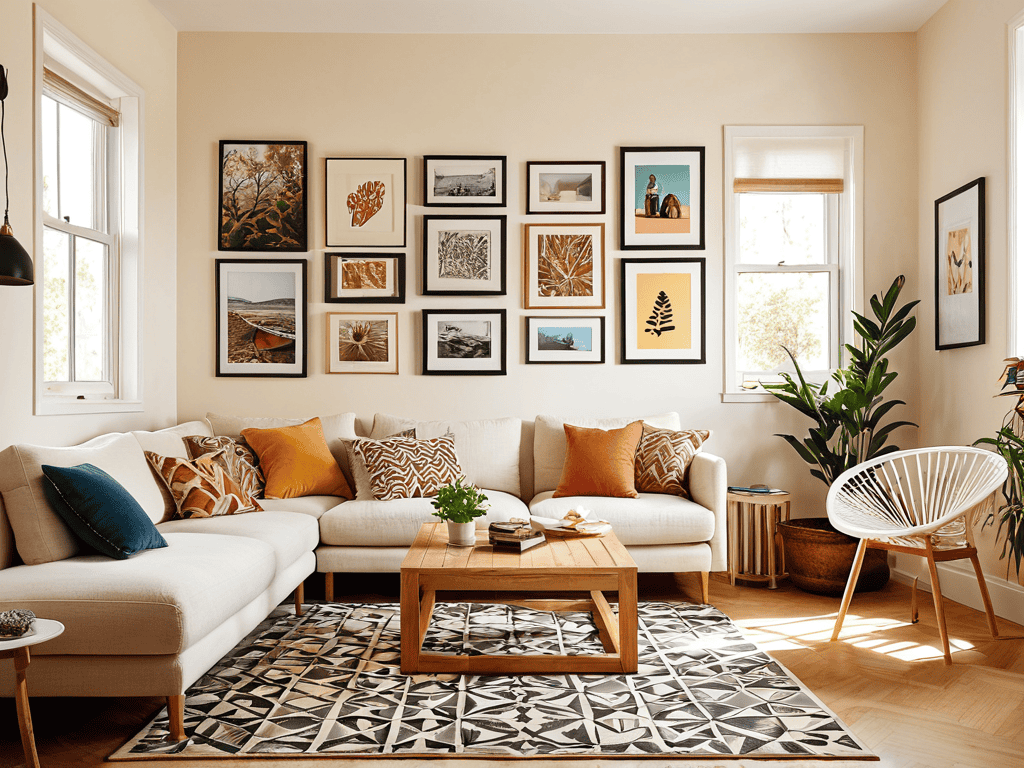
As you start arranging your frames, remember, there’s no right or wrong – just your unique perspective. Play with patterns, textures, and sizes to add depth and visual interest. Don’t be afraid to step back, admire your work, and make adjustments until it feels just right.
Hanging Pictures Without Nails
To add a touch of elegance without damaging the walls, consider using adhesive strips or hanging putty. These gentle giants can hold a surprising amount of weight, making them perfect for framing your favorite memories. Simply clean the wall surface, apply the strip or putty, and hang your picture – it’s that easy. This method is especially useful for renters or those who want to avoid making holes in their walls.
By using these nail-free methods, you can create a beautiful DIY picture wall that’s both stylish and stress-free. Plus, when you’re ready to rearrange or remove your pictures, the adhesive strips or putty come off cleanly, leaving no residue behind.
Nailing It: 5 Essential Tips for a Stunning DIY Picture Wall
- Start with a unifying theme to tie your photos together, whether it’s a color palette, a specific era, or a memorable trip
- Play around with different frame shapes and sizes to add depth and visual interest to your wall
- Don’t be afraid to mix and match frame styles, from sleek and modern to vintage and ornate
- Use a level and a pencil to mark the spot where you want to hang each photo, and take a step back to admire your work as you go
- Leave some breathing room between frames to avoid a cluttered look, and don’t be too hard on yourself if it’s not perfect – it’s DIY, after all!
Key Takeaways for Your DIY Picture Wall
Embrace your personal style and curate a collection of photos that speak to you, making your DIY picture wall a true reflection of your personality and experiences
Experiment with different layouts and arrangements to create a unique gallery wall that adds visual interest and texture to your space
Think beyond traditional hanging methods and explore nail-free options, such as adhesive strips or 3M picture hanging strips, to create a damage-free and stress-free DIY picture wall experience
A Labour of Love
A DIY picture wall is more than just a decoration, it’s a tapestry of memories, a reflection of our souls, and a celebration of the beauty in the imperfect.
Lily Green
Bringing It All Together
As we’ve explored the world of DIY picture walls, we’ve covered the basics of gathering your favorite photos, creating a unique gallery wall, and even hanging pictures without nails. It’s been a journey of self-expression and creativity unleashed, where every step of the way, you’ve had the freedom to make your DIY picture wall truly yours. From the initial planning phase to the final hang, each decision has been an opportunity to infuse your personality into the space. By following these steps and embracing your inner artist, you’ve not only created a beautiful DIY picture wall but also a reflection of your character and style.
Now that your DIY picture wall is complete, take a step back and admire your handiwork. Remember, the true beauty of a DIY project lies not just in the end result, but in the journey of creation itself. As you gaze upon your finished masterpiece, feel a sense of pride and accomplishment, knowing that you’ve brought a piece of yourself into your living space. Your DIY picture wall is more than just a decorative element – it’s a testament to your imagination, your unique perspective, and your ability to turn a blank wall into a work of art.
Frequently Asked Questions
How do I choose the right frame styles to match my home decor?
Choose frames that vibe with your space – think about the style, era, and colors in your home. For a cohesive look, mix and match frames in similar tones or textures, or go wild with a eclectic mix that reflects your personality.
What's the best way to ensure my DIY picture wall is level and evenly spaced?
To keep your DIY picture wall level and evenly spaced, use a trusty level tool and a measuring tape to ensure each frame is perfectly aligned and spaced. You can also create a template on the floor with paper cutouts of your frames to get a sense of the layout before hanging.
Can I use command strips or adhesive hooks to hang pictures without damaging the wall?
Absolutely, you can use command strips or adhesive hooks to hang pictures without damaging the wall. They’re a great alternative to nails and come off cleanly, leaving no residue behind. Just make sure to follow the weight limit and instructions for each strip or hook to ensure your pics stay put.