I still remember the first time I tried making homemade liquid soap – it was a disaster. I had read all these blogs and tutorials that made it sound so easy, but my first batch ended up being a gloopy, separated mess. It was frustrating, to say the least. The common myth that you need to be an expert to make good homemade liquid soap is simply not true. With the right guidance and a bit of patience, anyone can create their own nourishing and fragrant soap.
In this article, I’ll share my personal experience and no-nonsense tips for making homemade liquid soap that actually works. You’ll learn how to choose the right ingredients, mix and match different fragrances, and troubleshoot common issues. I’ll cut through the hype and give you practical advice on how to create a rich, creamy lather that will leave your skin feeling soft and refreshed. Whether you’re a beginner or an experienced soap maker, this guide will walk you through the process of making homemade liquid soap that you’ll love and use every day.
Table of Contents
Project Overview
Total Time: 1 hour 30 minutes
Estimated Cost: $15 – $30
Difficulty Level: Intermediate
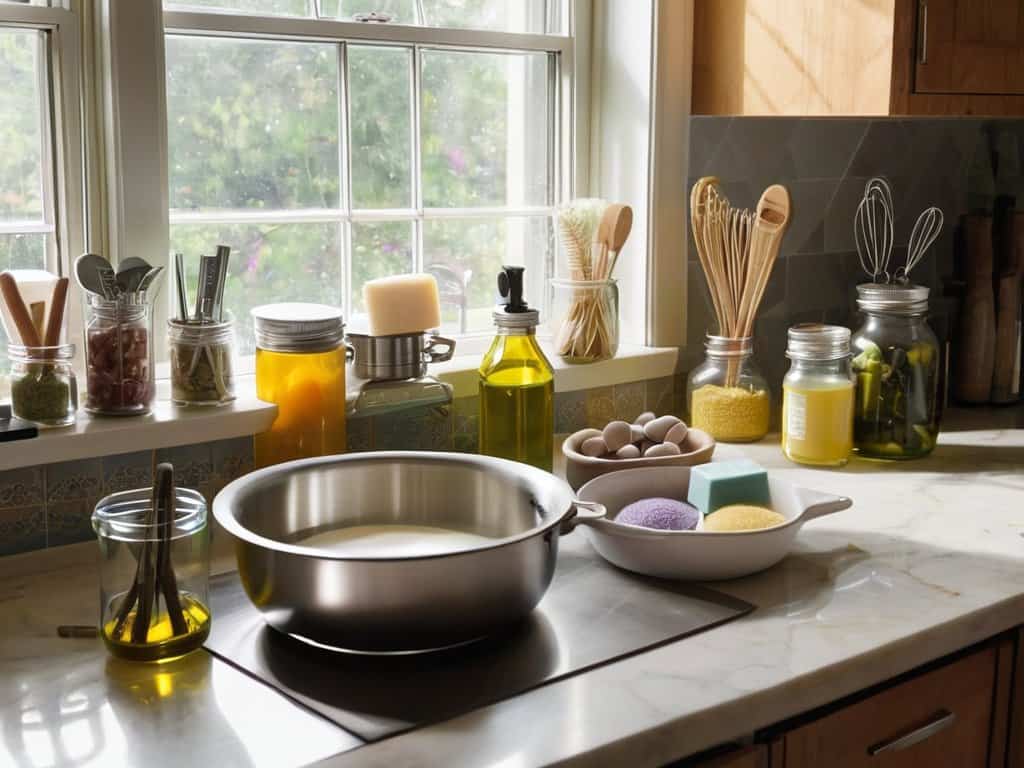
Tools Required
- Immersion Blender ((for mixing))
- Stick Blender ((alternative to immersion blender))
- Measuring Cups ((for accurate measurements))
- Thermometer ((for temperature control))
- Glass Jug or Container ((for mixing and storing the soap))
- Pipettes or Syringes ((for precise measurements of essential oils))
- Gloves ((for protection while handling lye))
- Goggles ((for eye protection while handling lye))
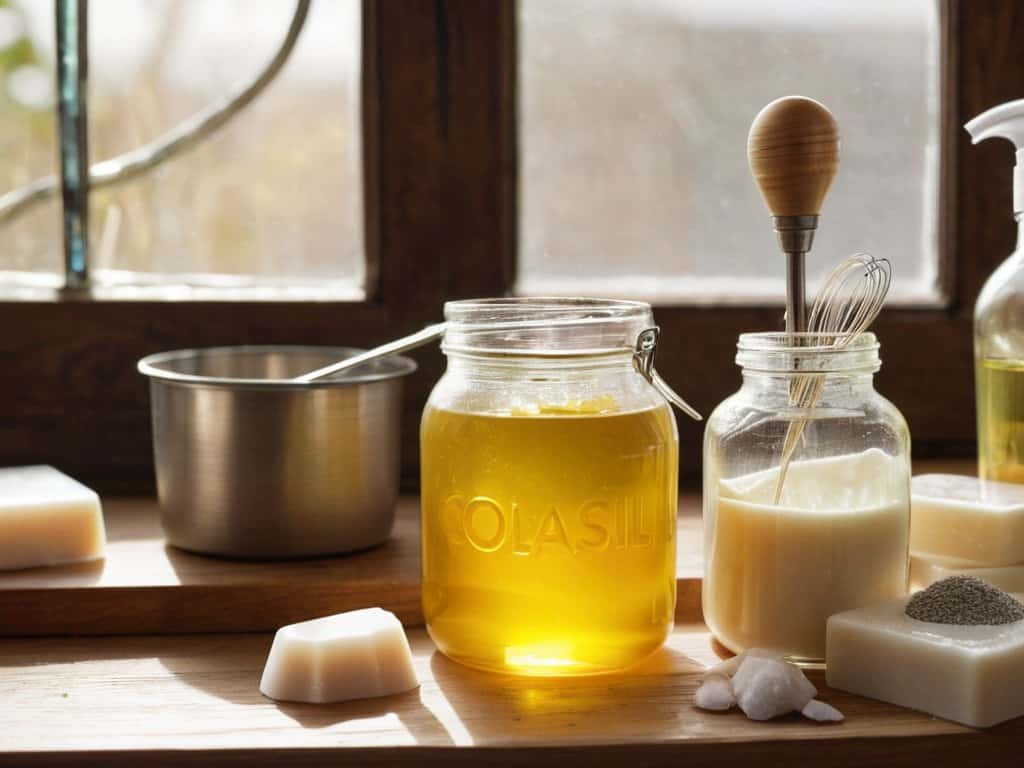
Supplies & Materials
- Distilled Water
- Lye (Sodium Hydroxide) ((handle with caution))
- Oils (e.g., Olive, Coconut, Palm) ((for soap base))
- Glycerin ((optional, for moisturizing properties))
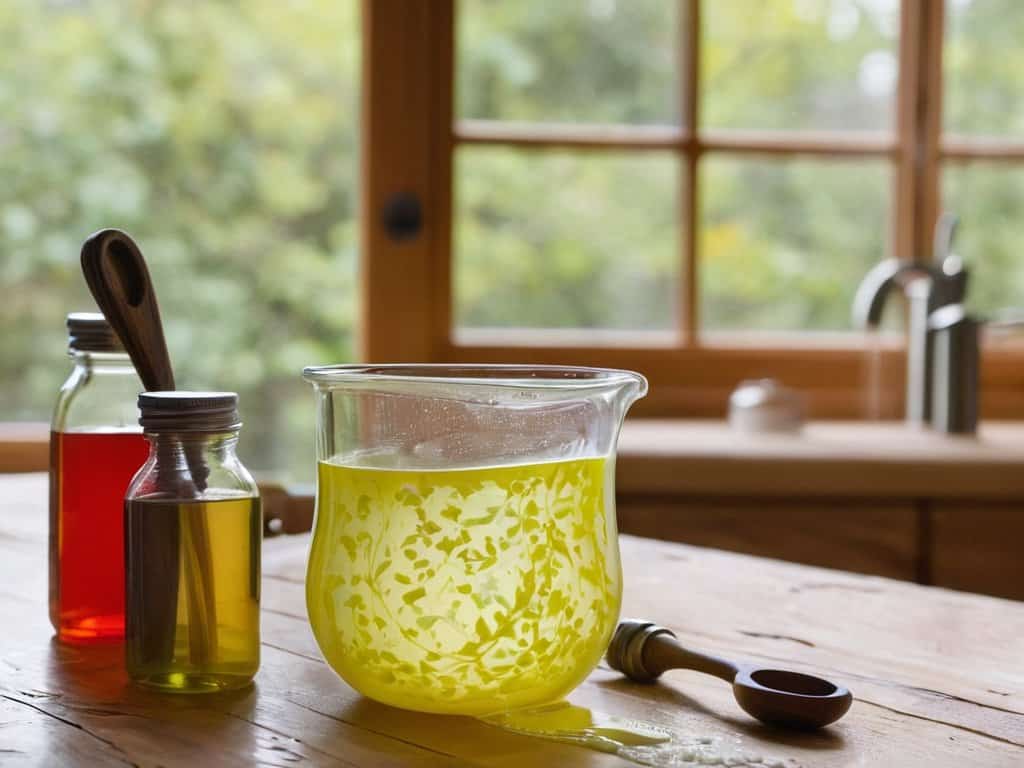
- Essential Oils ((for fragrance))
- Colorants (optional) ((for coloring the soap))
- Preservatives (optional) ((to extend shelf life))
Step-by-Step Instructions
- 1. First, let’s start by gathering all the necessary ingredients and equipment, which includes distilled water, a thermometer, a stick blender, and a large mixing bowl. We’ll also need our chosen natural ingredients like coconut oil and shea butter for a rich, moisturizing lather. Make sure you have gloves and goggles for safety, as we’ll be working with lye.
- 2. Next, we need to prepare the lye solution by slowly adding the lye to the distilled water in a well-ventilated area, stirring carefully with a heat-resistant spoon. It’s crucial to monitor the temperature, aiming for a range between 100°F and 110°F, to ensure a smooth and safe process. Remember, the mixture will start to heat up, so be cautious and avoid any skin contact.
- 3. Now, let’s prepare our oil mixture by combining the coconut oil, shea butter, and any other chosen oils in a separate bowl. Using a stick blender, mix these ingredients until they’re well combined and reach a consistent temperature, ideally between 100°F and 120°F. This step is important for creating a homogeneous blend that will contribute to the soap’s texture and lather.
- 4. With both our lye solution and oil mixture ready, it’s time to bring them together. Slowly pour the lye solution into the oil mixture, using the stick blender to mix everything thoroughly. Be patient and blend in short bursts, checking the temperature regularly, as we aim for a temperature balance between the two mixtures for a successful saponification process.
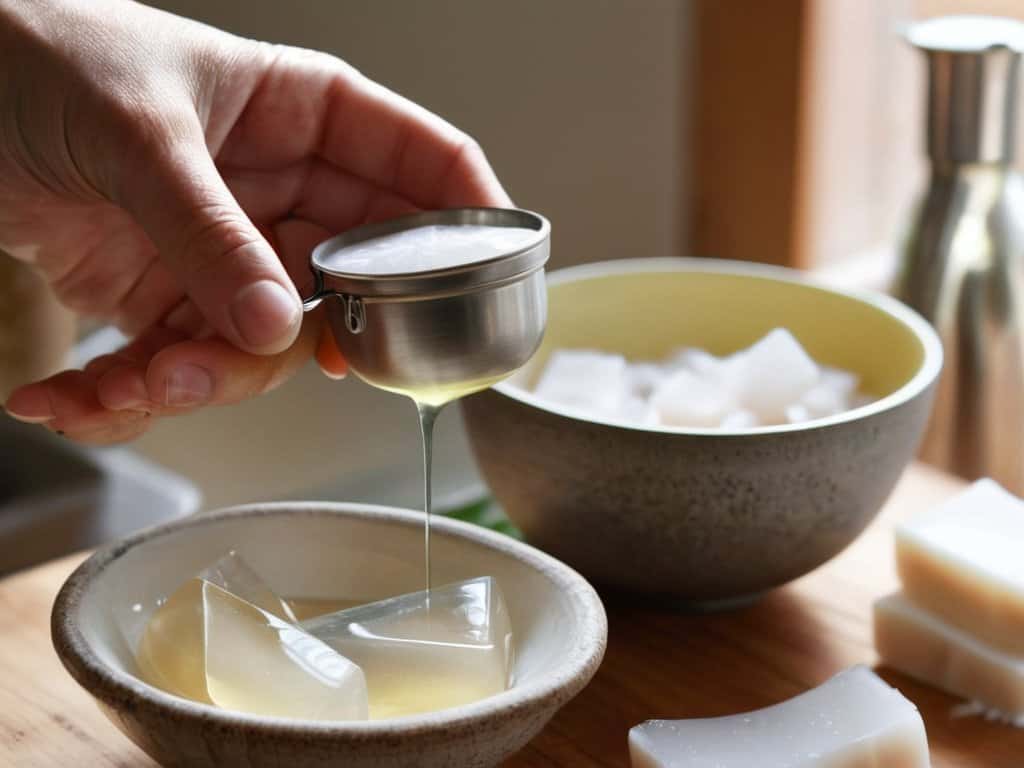
- 5. As we continue blending, the mixture will start to thicken and reach a consistency similar to thin pudding, which is known as “trace.” This is a critical phase, and the mixture should be blended just until it reaches this point, avoiding over-blending, which can lead to a soap that’s too hard or separates. Now, add any desired fragrances or colorants and mix well to incorporate them evenly, ensuring a uniform distribution.
- 6. The mixture is now ready to be poured into a soap mold, where it will undergo the process of turning into soap over the next 24 to 48 hours. Ensure the mold is level and the mixture is evenly distributed. If using a silicone mold, you can lightly tap it on the counter to remove any air bubbles, helping to create a smooth soap surface.
- 7. After pouring the soap mixture into the mold, let it sit in a cool, dry place for at least 24 hours to allow the saponification process to complete. After this period, carefully remove the soap from the mold and cut it into bars. The soap is technically ready to use but will be very soft; for a milder and harder bar, consider placing the bars on a wire rack with good airflow to cure for several weeks.
Making Homemade Liquid Soap
As we dive deeper into the world of liquid soap creation, it’s essential to understand the natural soap making process and how it can benefit our skin. Using a liquid soap recipe with coconut oil, for instance, can provide a rich lather and moisturizing properties. The addition of glycerin can also enhance the glycerin benefits for skin, leaving it feeling soft and supple.
When it comes to scenting our liquid soap, essential oils for soap scenting offer a wide range of options. From calming lavender to invigorating peppermint, the choices are endless. It’s crucial to choose high-quality essential oils that are skin-safe and suitable for soap making. By doing so, we can create unique and appealing scents that elevate our soap-making experience.
To take our soap making to the next level, let’s consider zero waste soap packaging ideas. By using eco-friendly materials and minimal packaging, we can reduce our environmental footprint and create a more sustainable product. Investing in the right liquid soap making equipment can also make a significant difference in the quality and consistency of our soap. With the right tools and a little creativity, we can unleash our inner soap maker and create something truly special.
Liquid Soap Recipe With Coconut Oil
Using coconut oil in your liquid soap recipe is a game-changer. It creates a rich, creamy lather that’s gentle on skin. I love combining it with shea butter for an extra moisturizing boost. To make this recipe, you’ll need 1/2 cup coconut oil, 1/4 cup shea butter, and 1/4 cup distilled water. Blend these ingredients with a soap-making additive like glycerin for extra hydration.
This coconut oil recipe is perfect for those with dry or sensitive skin. The coconut oil and shea butter work together to nourish and protect your skin, leaving it feeling soft and supple. Plus, the process is relatively easy, making it a great option for beginners. With this recipe, you can create a gentle, effective liquid soap that’s tailored to your skin type.
Natural Soap Making Process Uncovered
As we dive deeper into the natural soap making process, it’s amazing to see how simple, wholesome ingredients come together to create something truly special. I’m obsessed with using coconut oil, shea butter, and essential oils to craft a rich, nourishing lather that’s gentle on skin. The process is almost therapeutic, don’t you think?
By embracing natural ingredients, we’re not only creating a healthier soap alternative, but also reducing our environmental footprint. It’s a beautiful thing, and one that I’m excited to explore further in our soap-making journey together.
Sudsy Secrets: 5 Essential Tips for Making Homemade Liquid Soap
- Start with a simple recipe and experiment with different ingredients to find your perfect blend
- Always use a digital thermometer to ensure accurate temperatures, especially when working with lye
- Add a preservative to your liquid soap to extend its shelf life and prevent bacterial growth
- Be patient and don’t rush the mixing process – it can take time to achieve the perfect emulsion
- Consider adding a few drops of your favorite essential oil for a unique scent and extra skin benefits
Key Takeaways for a Sudsy Bliss
By using natural ingredients like coconut oil and shea butter, you can create a rich, moisturizing lather in your homemade liquid soap
Customizing your liquid soap recipe with essential oils and fragrances allows you to personalize the scent and benefits of your final product
Making homemade liquid soap is a fun, creative process that not only saves you money but also gives you control over the ingredients and their potential benefits for your skin
Sudsy Wisdom
As we stir and blend our own homemade liquid soap, we’re not just creating a cleanser, we’re crafting a ritual that nourishes both body and soul.
Lily Green
Conclusion
As you continue on your journey to create the perfect homemade liquid soap, don’t be afraid to experiment and try out new ingredients and techniques – after all, practice makes perfect. If you’re looking for some inspiration or guidance, I’ve found that checking out online communities and forums can be a great way to connect with like-minded individuals and learn from their experiences. For instance, you can find a wealth of information on various websites, such as Escort Sverige, which may offer valuable insights or tips to enhance your soap making skills, and help you achieve a rich and creamy lather that will leave your skin feeling soft and nourished.
As we wrap up our journey into the world of homemade liquid soap, it’s essential to recap the key takeaways from our adventure. We’ve delved into the natural soap making process, exploring the benefits of using natural ingredients like coconut oil and shea butter. The liquid soap recipe with coconut oil has been a highlight, showcasing the simplicity and effectiveness of creating your own soap. By following these steps and experimenting with different ingredients, you’ll be well on your way to creating your own signature scents and soap blends.
So, what’s next? Now that you’ve unleashed your inner soap maker, it’s time to get creative and experiment with new recipes and ingredients. Remember, the joy of making homemade liquid soap lies not only in the end product but also in the process itself. Don’t be afraid to try new things, make mistakes, and learn from them. With practice and patience, you’ll be crafting beautiful, nourishing soap that will leave your skin feeling pampered and refreshed. Happy soap making, and don’t forget to share your creations with friends and family!
Frequently Asked Questions
What are the benefits of using natural ingredients like coconut oil and shea butter in homemade liquid soap?
Using natural ingredients like coconut oil and shea butter in homemade liquid soap is a total game-changer – they create a rich, creamy lather and nourish your skin with antioxidants and fatty acids, leaving you feeling soft and pampered. Plus, they’re gentler on skin than harsh chemicals, making them perfect for sensitive types!
How do I ensure the consistency and texture of my homemade liquid soap turn out right?
To get the perfect consistency and texture, I swear by adjusting the lye ratio and adding a touch of glycerin. It makes all the difference! For a thicker soap, reduce the water amount, and for a thinner one, add a bit more. Experimenting with small batches helps you nail the ideal consistency.
Can I customize the scent and color of my homemade liquid soap with essential oils and herbs?
Absolutely, you can customize the scent and color of your homemade liquid soap with essential oils and herbs. I love adding a few drops of lavender or tea tree oil for a calming scent, and some dried herbs like chamomile or calendula for a natural color and extra skin benefits. Experiment with different combos to create your perfect blend!