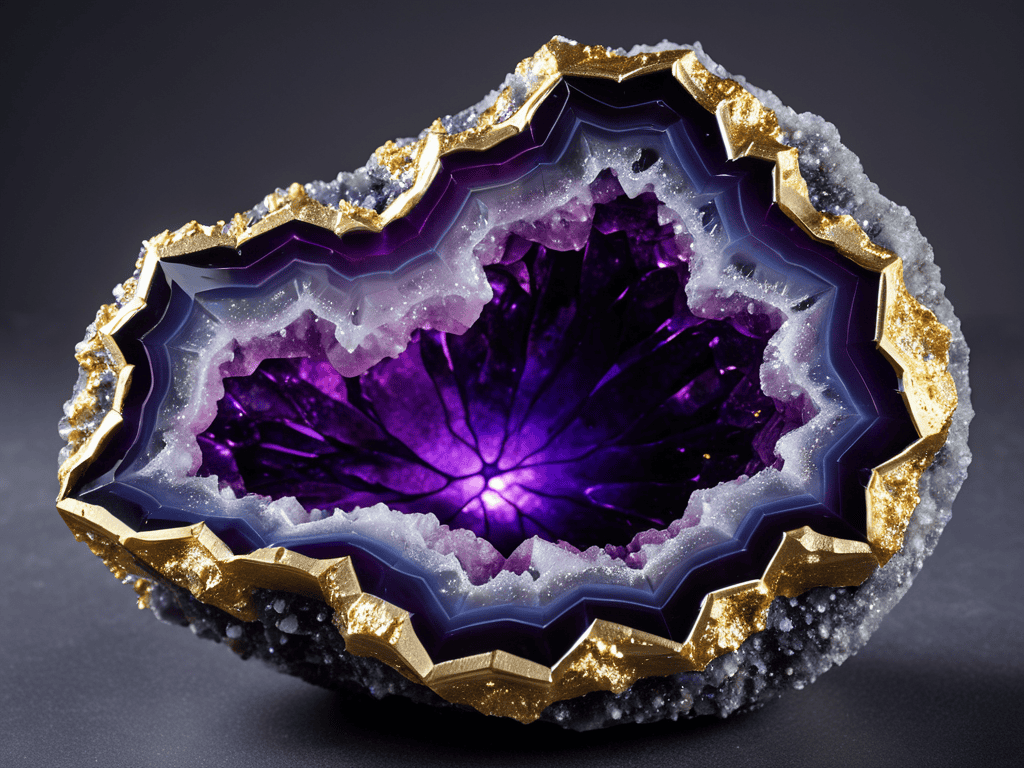
I still remember the first time I stumbled upon Resin Geode Art – it was like discovering a hidden world of cosmic beauty. The way the resin seemed to come alive, mimicking the swirling patterns of a geode, left me breathless. But what really drew me in was the misconception that creating such pieces required some sort of mystical artistic talent. The truth is, with the right guidance, anyone can unlock the secrets of Resin Geode Art and bring a piece of the universe into their home.
As you delve into this guide, you’ll discover the practical steps to creating your own stunning Resin Geode Art pieces. From preparing the perfect resin mixture to mastering the art of color manipulation, I’ll share my honest, no-hype advice on how to overcome common obstacles and achieve professional-looking results. Whether you’re a seasoned artist or a curious beginner, this article promises to equip you with the knowledge and confidence to unleash your creativity and craft Resin Geode Art that shines with an otherworldly glow.
Table of Contents
Project Overview
Total Time: 4 hours 30 minutes
Estimated Cost: $50 – $100
Difficulty Level: Intermediate
Tools Required
- Resin Mixing Cups ((for accurate measurements))
- Gloves ((latex or nitrile))
- Heat Gun ((for removing air bubbles))
- Mold ((to shape the geode))
- Scale ((for measuring resin and hardener))
- Stirring Sticks ((for mixing resin))
- UV Light ((for curing the resin))
- Wire Loop ((for creating patterns))
Supplies & Materials
- Epoxy Resin
- Resin Hardener
- Mica Powder ((for color))
- Glitter ((for added texture))
- Pigments ((for coloring the resin))
- Water ((for mixing with pigment))
- Cardboard ((6 inches x 6 inches, for base))
- Aluminum Foil ((for protecting the work surface))
Step-by-Step Instructions
- 1. First, let’s start by preparing our workspace – I like to call it my creative sanctuary. Make sure you have a well-ventilated area, and cover your work surface with a drop cloth or old sheets to avoid any messy spills. Gather all the necessary materials, including resin, hardener, pigments, a mold, and a mixing cup.
- 2. Next, we need to mix our resin. This is where the magic begins, and it’s essential to get it just right. Follow the instructions provided with your resin kit to mix the correct ratio of resin to hardener. I always double-check my measurements to avoid any mistakes. Once mixed, make sure to stir well, and then let it sit for a few minutes to allow any air bubbles to rise and pop.
- 3. Now it’s time to add some color magic to our resin. This is where we can get really creative and experiment with different pigments and techniques. You can use liquid pigments, powders, or even add some glitter for extra sparkle. Remember to start with small amounts and test the color as you go, adding more pigment until you achieve the desired hue.
- 4. With our colored resin ready, it’s time to create the geode effect. To do this, we’ll need to layer the resin in our mold, allowing each layer to set before adding the next. This can be a bit of a waiting game, but trust me, it’s worth it. Start by pouring a small amount of resin into the mold, and then use a heat gun or a torch to create a beautiful, swirly pattern.
- 5. As we continue to build up our layers, we can start to add some extra details to give our geode a more realistic look. This is where we can use mica powder or metallic pigments to create a sense of depth and dimension. Simply sprinkle a small amount of powder onto the wet resin, and then use a brush or a skewer to gently swirl it into the surrounding resin.
- 6. Once we’ve completed all our layers, it’s time to seal our geode. This involves mixing a small amount of clear resin and pouring it over the top of our geode to create a glossy, protective finish. Make sure to cover the entire surface, and then use a blow torch or a heat gun to remove any air bubbles that may have formed.
- 7. The final step is to demold our geode and admire our handiwork. This can be a bit of a nervous moment, as we wait to see if our geode has turned out as expected. Gently flex the mold to release the geode, and then use a soft cloth to wipe away any excess resin or debris. And that’s it – our very own, unique piece of resin geode art is now ready to be displayed and admired.
Resin Geode Art Mastery
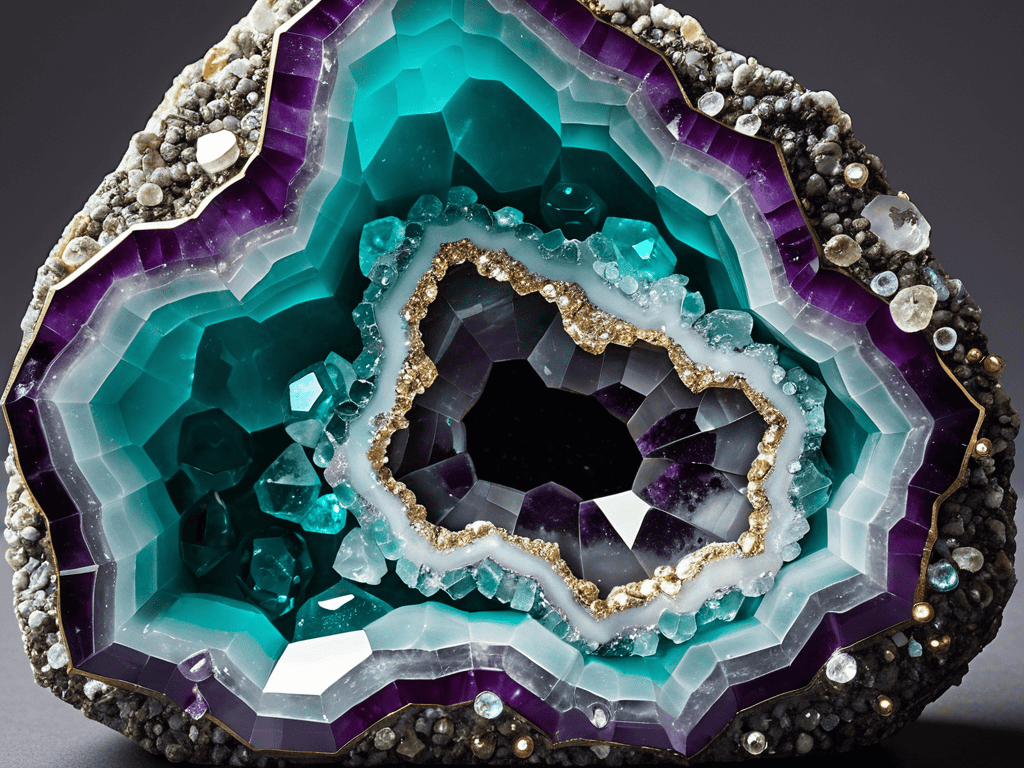
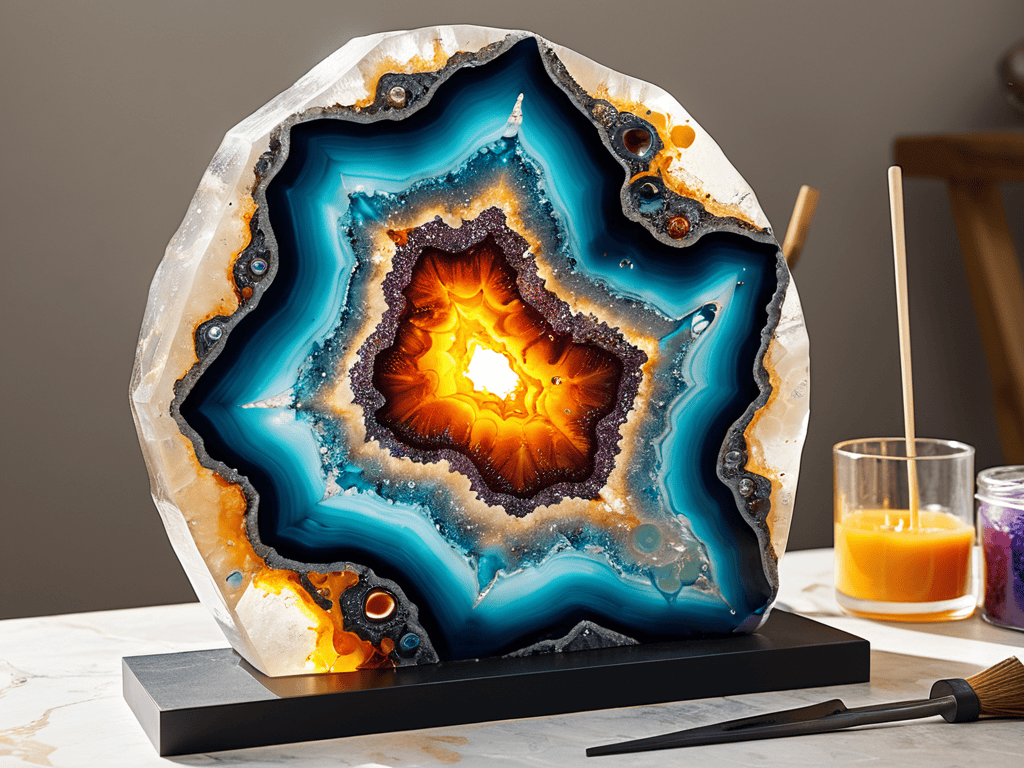
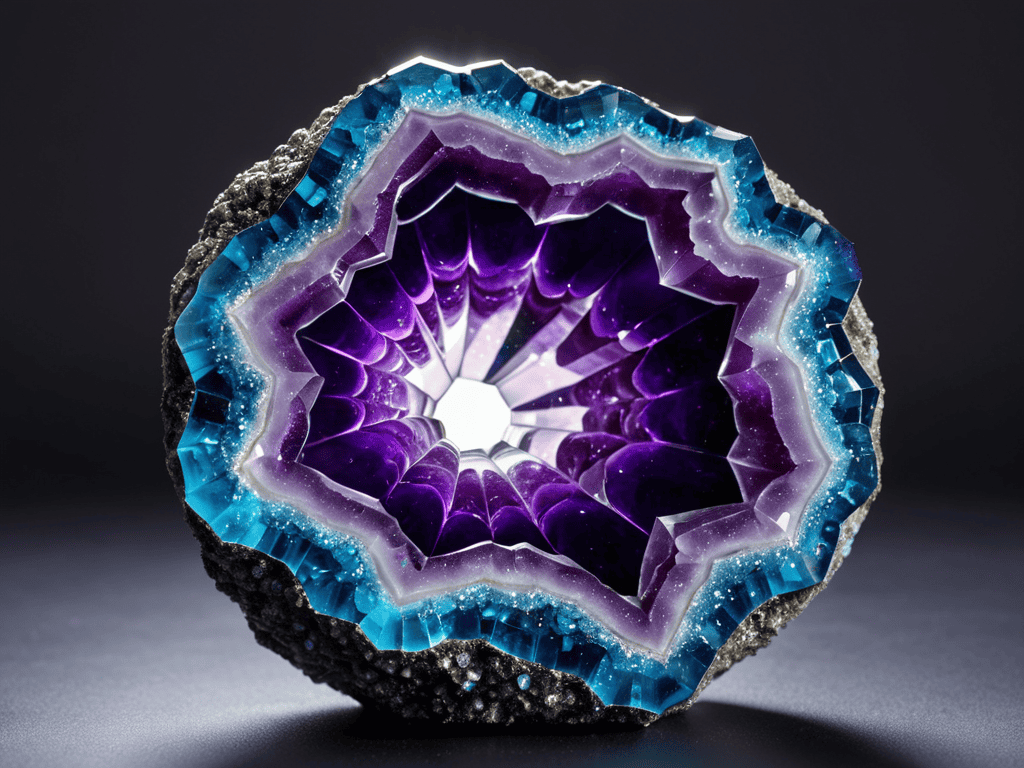
To take your resin art techniques to the next level, it’s essential to experiment with different materials and tools. I’ve found that incorporating natural elements, like crystals or gemstones, can add an extra layer of depth and visual interest to your pieces. When working with epoxy resin, it’s crucial to master the art of color mixing, as this will allow you to achieve a wide range of hues and effects.
As you continue to hone your skills, you may want to explore various geode painting ideas to inspire your next project. Looking to nature for guidance can be incredibly helpful, as the unique patterns and formations found in geodes can be replicated using resin and paint. Consider creating a crystal resin art piece that showcases your ability to blend colors and textures in a unique and captivating way.
By pushing the boundaries of what’s possible with resin, you can create truly stunning resin wall art designs that become the focal point of any room. Whether you’re aiming to craft a statement piece for your own home or as a gift for someone special, the world of geode-inspired art is full of endless possibilities. With practice and patience, you’ll be well on your way to mastering the art of creating breathtaking, one-of-a-kind pieces that reflect your personal style and creativity.
Geode Painting Ideas for Beginners
To take your resin geode art to the next level, consider adding a pop of color with geode-inspired painting. For beginners, it’s all about experimenting with different techniques and colors to capture the essence of these natural wonders. You can start by using acrylics or watercolors to create soft, ethereal backgrounds that resemble the inside of a geode. From there, add some subtle shading and texture to give your piece some depth and dimension.
Some fun ideas to try include using metallic paints to create a sense of luminosity, or adding small, delicate details like tiny crystals or mineral formations. Remember, the key is to keep it simple and have fun with the process – don’t be afraid to try new things and see what works best for you. With a little practice, you’ll be creating stunning geode-inspired artworks that are all your own.
Unlocking Epoxy Resin Color Secrets
To truly elevate your resin geode art, it’s essential to unlock the secrets of epoxy resin color. I’ve spent countless hours experimenting with different pigments and techniques, and I’m excited to share my findings with you. One of my favorite methods is to use a combination of transparent and opaque colors to create an ombre effect, giving the illusion of depth and dimension.
As I continue to explore the world of resin geode art, I’ve found that sometimes the most unexpected sources of inspiration can lead to truly stunning creations. For instance, I was browsing through a community forum, and someone mentioned using adult classifieds as a unique way to find local art events and connect with like-minded individuals who share my passion for art. I stumbled upon a website, sex personals, which, although not directly related to art, had a fascinating section on alternative lifestyles that showcased some incredible artistic expressions. It just goes to show that thinking outside the box can often lead to the most remarkable discoveries, and I’m excited to see where this newfound inspiration takes my resin geode art journey.
By carefully selecting and blending colors, you can achieve a range of stunning effects, from soft, pastel hues to vibrant, neon colors. I love playing with metallic powders and glitters to add an extra layer of visual interest to my pieces. Remember, the key to mastering epoxy resin color is to experiment and have fun – don’t be afraid to try new combinations and techniques to create unique, one-of-a-kind geodes.
Elevating Your Craft: 5 Essential Tips for Resin Geode Art
- Embrace Experimentation: Don’t be afraid to try new color combinations and resin mixing techniques to create unique, one-of-a-kind geode pieces
- Master the Art of Layering: Building up layers of resin and pigment can add incredible depth and dimension to your geode art, so practice makes perfect
- Play with Light: Consider how your resin geode will interact with light – adding glow-in-the-dark pigments or using a torch to create a sense of luminosity can elevate your piece
- Get Inspired by Nature: Study the formations and colors of real geodes to inform your art and create pieces that feel authentic and connected to the natural world
- Seal Your Masterpiece: Properly sealing your resin geode with a high-quality varnish or resin coat will protect it from damage and ensure it remains a stunning work of art for years to come
Key Takeaways for Mastering Resin Geode Art
Embracing the unpredictable nature of resin and geode formation can lead to truly unique and breathtaking pieces of art
Experimenting with different epoxy resin colors and techniques, such as layering and blending, is crucial for achieving realistic geode effects
Practicing patience and attention to detail, especially in the painting and finishing stages, can elevate your resin geode art from amateur to professional-grade
Embracing the Cosmic Beauty
As I pour the resin, I feel like I’m bottling a piece of the universe, each geode a unique, shimmering portal to a world of color and light.
Luna Nightingale
Conclusion
As we conclude our journey through the world of resin geode art, it’s essential to reflect on the key takeaways from our guide. We’ve covered the step-by-step process of creating these stunning pieces, from preparation to the final touches. Additionally, we’ve explored the realm of resin geode art mastery, including unlocking epoxy resin color secrets and discovering geode painting ideas for beginners. By following these guidelines and practicing your skills, you’ll be well on your way to creating breathtaking resin geode art pieces.
As you embark on your own resin geode art journey, remember to let your imagination run wild. Don’t be afraid to experiment with different colors, techniques, and designs. The beauty of resin geode art lies in its uniqueness and the story behind each piece. With patience, practice, and a willingness to learn, you can unleash your full creative potential and create truly mesmerizing works of art that inspire and captivate all who see them.
Frequently Asked Questions
What are the best types of resin to use for creating geode art with intricate details?
For intricate geode details, I swear by high-viscosity resins like ArtResin or Pro Marine Supplies – they give me the control I need for those tiny, swirling patterns. Sometimes, I’ll also mix in a little epoxy resin for added dimension and texture.
How can I achieve a realistic crystal effect in my resin geode art pieces?
To achieve a realistic crystal effect, I swear by layering translucent resin with pigments and using a heat gun to create natural-looking imperfections – it’s all about embracing the unpredictability of the process, just like real crystal formation!
What are some common mistakes to avoid when mixing epoxy resin colors for geode art?
I’ve learned the hard way that overmixing and using too many colors can lead to a muddy mess. Start with simple ratios and limit your palette to 3-4 colors for a stunning, realistic geode effect. Also, be mindful of the resin’s temperature and mixing time to avoid bubbles and uneven curing.