I still remember the day I decided to tackle the installing a range hood vent project in my own kitchen – it was a game-changer. I had heard all sorts of horror stories about how complicated and messy the process could be, but I was determined to get it done. And you know what? It wasn’t as bad as everyone made it out to be. In fact, with the right guidance, anyone can do it. The problem is, most of the advice out there is either too vague or too technical, leaving you more confused than when you started.
So, what sets this guide apart? For starters, I’m not going to sugarcoat anything or promise you that installing a range hood vent is a breeze. It does require some effort and patience, but the payoff is well worth it. In this article, I’ll walk you through the entire process, from preparation to completion, and share some practical tips and tricks I’ve learned along the way. By the end of it, you’ll be equipped with the knowledge and confidence to tackle the project like a pro, and enjoy a safer, more efficient kitchen as a result.
Table of Contents
Project Overview

As you’re wrapping up your range hood vent installation, it’s essential to consider the overall kitchen ambiance you want to create, and that includes the social aspect of cooking and sharing meals. If you’re looking for inspiration on how to make your kitchen the heart of your home, where friends and family can gather, I’ve found that exploring local events and meetups can be a great way to get ideas and meet like-minded people. For instance, checking out websites like sextreffen dresden can give you a sense of the community events happening in your area, and who knows, you might stumble upon a kitchen design workshop or a cooking class that sparks some creativity for your own space. By focusing on the social benefits of your kitchen renovation, you’ll not only create a functional space but also a hub for connection and enjoyment.
Total Time: 2 hours 30 minutes
Estimated Cost: $50 – $200
Difficulty Level: Intermediate
Tools Required
- Drill ((with screwdriver and drill bits))
- Utility Knife ((with extra blades))
- Tape Measure
- Level
- Pencil and Marker
- Screwdriver ((flathead and Phillips))
- Wrench or Pliers ((for ductwork adjustments))
- Ladder or Step Stool
Supplies & Materials
- Range Hood Vent
- Ductwork ((6 inches or 8 inches diameter))
- Vent Cap
- Roof or Wall Vent
- Weatherproofing Tape ((for outdoor seals))
- Screws and Nails ((for mounting))
- Drywall Anchors ((if mounting to drywall))
- Foam Tape ((for sealing gaps around vent))
Step-by-Step Instructions
- 1. First, let’s get started with the basics – turn off the power to the circuit that supplies the range hood vent at the main electrical panel to avoid any accidents or electrical shocks. This is a crucial step, and you should always double-check that the power is off before proceeding.
- 2. Next, remove any protective covering from the range hood vent and its components, such as the vent itself, the fan, and the ducting. This will give you a clear view of what you’re working with and help you understand how everything fits together. Take a moment to familiarize yourself with the different parts and their functions.
- 3. Now it’s time to mount the vent to the underside of the cabinet above your stove or range. This usually involves screwing the vent’s mounting bracket to the cabinet, so make sure you have the right screws and a drill handy. Be careful not to overtighten, as this can damage the cabinet or the vent itself. The goal is to get a secure fit that won’t come loose over time.
- 4. With the vent mounted, you can move on to connecting the ducting. This is the part that carries the air from the vent to the outside of your home. You’ll need to connect the ducting to the vent and then route it through the cabinet and out through an exterior wall or the roof. Make sure the ducting is properly sealed to prevent air leaks and reduce noise.
- 5. The next step is to install the fan and ensure it’s properly connected to the vent and the ducting. The fan is what actually moves the air through the system, so it’s essential that it’s installed correctly. Follow the manufacturer’s instructions for wiring the fan and make sure all connections are secure and safe.
- 6. Once the fan is in place, you can move on to connecting the vent to the power source. This usually involves wiring the vent to a dedicated circuit or a switch that controls the power to the vent. Be careful when working with electrical connections, and consider hiring a professional if you’re not comfortable with electrical work. The key is to get a reliable connection that won’t malfunction.
- 7. Finally, test the vent to make sure it’s working properly. Turn on the power and check that the fan is spinning and the vent is drawing air. You should also check for any air leaks or other issues that could affect performance. If everything seems to be working correctly, you can finish the installation by replacing any covers or trim and cleaning up the area.
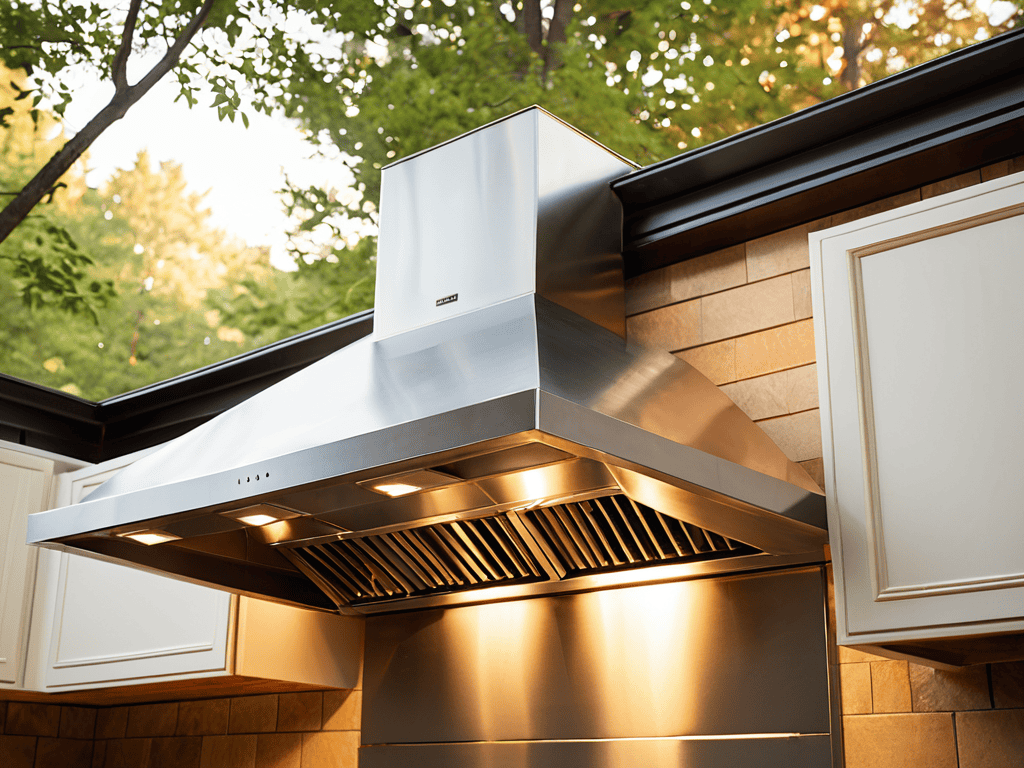
Installing a Range Hood Vent
When it comes to range hood venting requirements, it’s essential to consider the type of cooking you’ll be doing and the size of your kitchen. A larger kitchen or one with a commercial-grade range will require a more powerful venting system. Additionally, kitchen exhaust fan installation should be done in a way that allows for easy cleaning and maintenance. This includes installing the fan in an accessible location and using a durable, easy-to-clean material for the vent hood.
To ensure proper ventilation, it’s crucial to consider venting options for island range hoods. This may include installing a ductless range hood or using a remote blower to ventilate the area. Range hood duct size calculations should also be taken into account to ensure that the venting system is adequate for the size of the range hood and the kitchen.
Common mistakes to avoid during installation include insufficient range hood vent maintenance tips, such as not cleaning the vent regularly or not checking for blockages in the ductwork. By following these tips and considering the specific needs of your kitchen, you can ensure a safe and efficient venting system that will keep your kitchen clean and fresh for years to come.
Avoiding Common Installation Mistakes
When installing a range hood vent, it’s easy to get tripped up by minor oversights that can lead to major headaches. One common mistake is improper duct sizing, which can restrict airflow and reduce the vent’s effectiveness. Another mistake is not sealing the ducts and vents properly, allowing cooking fumes and moisture to escape into the surrounding walls and ceiling.
To avoid these mistakes, double-check your duct sizing and ensure all connections are securely sealed with durable materials like aluminum tape or mastic sealant. Additionally, verify that your vent is installed at the correct height and distance from the cooking surface to ensure optimal performance and safety.
Range Hood Venting Requirements Explained
When it comes to range hood venting, there are a few key requirements to keep in mind. First, you’ll need to ensure that your vent is properly sized for your range hood and kitchen space. This means considering the amount of airflow needed to effectively remove cooking fumes and particles. Additionally, you’ll need to think about the type of venting system you’ll be using, such as ducted or ductless, and whether it meets local building codes and regulations.
Proper venting is crucial to maintain good air quality and safety in your kitchen. A well-vented range hood can help remove grease, moisture, and heat, reducing the risk of fires and improving overall indoor air quality. By understanding and meeting these venting requirements, you can ensure a safe and efficient kitchen ventilation system.
Venting Like a Pro: 5 Key Tips to Get You Started
- Measure Twice, Drill Once: Double-check your range hood vent’s dimensions and the space where it’ll be installed to avoid any costly mistakes
- Choose the Right Venting Kit: Select a venting kit that matches your range hood’s specifications and the type of ductwork you’re using
- Don’t Forget the Duct Tape: Use high-quality duct tape to seal any gaps or holes in the ductwork, ensuring a tight and efficient seal
- Keep it Straight and Level: Ensure the ductwork is properly aligned and level to prevent any restrictions in airflow or moisture buildup
- Test it Before You Finish: Turn on the range hood and check for any leaks or unusual noises to catch any installation issues before they become major problems
Key Takeaways for a Successful Range Hood Vent Installation
Ensure you understand the specific venting requirements for your range hood model to avoid improper installation and potential safety hazards
Double-check your measurements and plan the installation carefully to avoid common mistakes, such as incorrect duct sizing or inadequate clearance
Always follow the manufacturer’s instructions and consider consulting a professional if you’re unsure about any aspect of the installation process to guarantee optimal performance and safety
The Ventilation Virtuoso
A range hood vent is more than just a kitchen accessory, it’s the lungs of your cooking space – and installing it right is the difference between a breath of fresh air and a cloud of chaos.
A Kitchen Renovation Guru
Conclusion
In conclusion, installing a range hood vent can seem like a daunting task, but by following the steps outlined in this guide, you’ll be well on your way to a successful installation. We’ve covered the key requirements for range hood venting, including the importance of proper sizing and ventilation. Additionally, we’ve highlighted common mistakes to avoid, such as improper ductwork installation and inadequate clearance. By taking the time to understand these critical components, you’ll be able to enjoy a safe and efficient cooking experience.
As you complete your range hood vent installation, remember that the end result is well worth the effort. Not only will you be improving the air quality in your kitchen, but you’ll also be adding a touch of professionalism to your cooking space. So, take a step back and admire your handiwork – you’ve earned it! With your new range hood vent up and running, you’ll be able to cook with confidence, knowing that you’ve taken the necessary steps to create a safe and healthy cooking environment.
Frequently Asked Questions
What are the most common types of range hood vents and which one is best for my kitchen?
For your kitchen, you’ve got a few range hood vent options: ducted, ductless, and convertible. Ducted vents are best for outdoor exhaust, while ductless ones recirculate air. Convertible vents offer flexibility, but consider your kitchen’s layout and ventilation needs to choose the best fit.
How do I determine the correct size of the range hood vent for my cooktop or stove?
To determine the correct size, measure your cooktop or stove to ensure the vent is at least as wide as the cooking surface, and consider the type and number of burners to calculate the required CFM (cubic feet per minute) rating for optimal ventilation.
Can I install a range hood vent myself or do I need to hire a professional?
Honestly, it depends on your DIY skills and comfort level with electrical and ductwork. If you’re handy and have experience with similar projects, you can definitely install a range hood vent yourself. But if you’re unsure or uncomfortable with the process, it’s best to hire a professional to avoid any potential safety hazards or costly mistakes.