I still remember the first time I tried to build a raised garden bed for vegetables – it was a disaster. I had heard that building a raised garden bed was a complicated process that required a lot of expertise, but I was determined to give it a shot. After hours of struggling, I finally managed to create a bed that was, well, less than perfect. But I learned a valuable lesson: how to build a raised garden bed for vegetables doesn’t have to be rocket science. With the right guidance, anyone can create a thriving garden, and that’s exactly what I want to share with you.
In this article, I’ll cut through the noise and give you the honest, no-nonsense advice you need to build a raised garden bed that will make your neighbors jealous. I’ll walk you through the entire process, from planning to planting, and share some practical tips that I’ve learned along the way. Whether you’re a seasoned gardener or a complete beginner, you’ll find that building a raised garden bed for vegetables is easier than you think, and with the right approach, you can be enjoying a bountiful harvest in no time. So, let’s get started and turn your gardening dreams into a reality!
Table of Contents
Guide Overview: What You'll Need
Total Time: 2 hours 30 minutes
Estimated Cost: $50 – $100
Difficulty Level: Intermediate
Tools Required
- Circular Saw (for cutting lumber)
- Drill (with screwdriver bits)
- Tape Measure (for measuring and marking lumber)
- Level (to ensure the bed is level)
- Shovel (for filling with soil)
- Rake (for smoothing out the soil)
- Hammer (for tapping screws into place)
- Utility Knife (for cutting landscape fabric)
Supplies & Materials
- 2-in x 6-in lumber (for the frame, 8 feet long)
- 2-in x 4-in lumber (for the bottom, 8 feet long)
- Wood Screws (2.5 inches long)
- Landscape Fabric (to line the bottom of the bed)
- Soil (a mix specifically designed for vegetables)
- Gravel or Wood Chips (for drainage and weed suppression)
- Weather-Resistant Wood Glue (for reinforcing the frame)
Step-by-Step Instructions
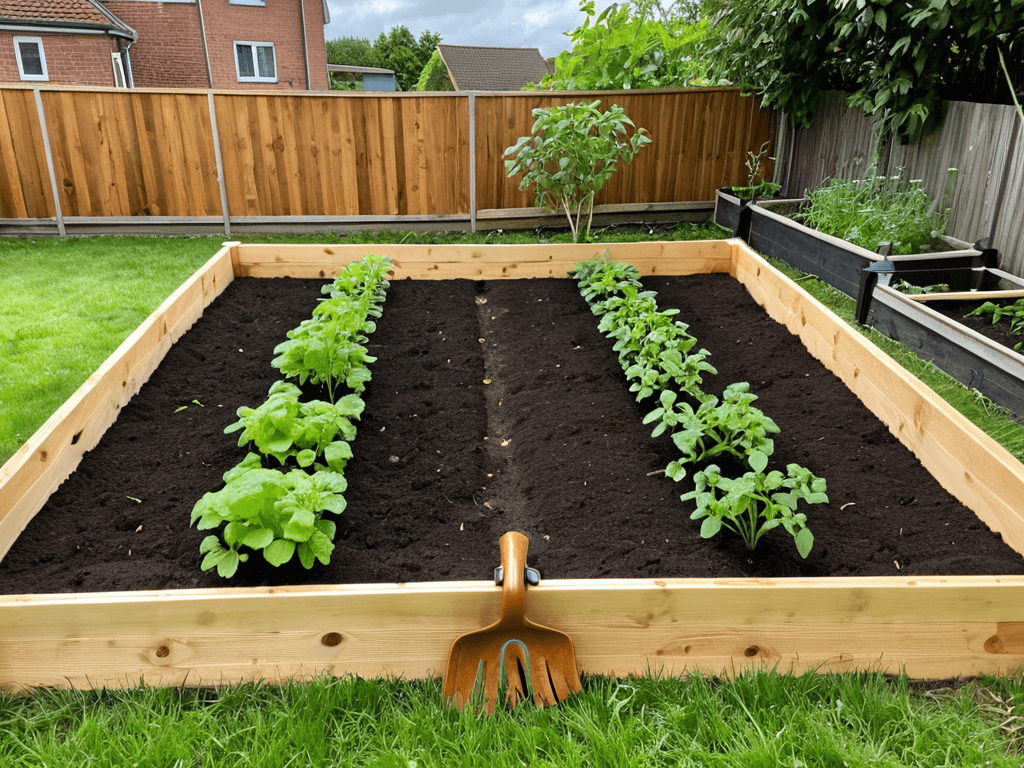
- 1. First, let’s start by planning our garden bed. Decide on the size and location of your raised garden bed, taking into account the amount of sunlight it will receive and the type of vegetables you want to grow. Make sure to choose a spot that is level and well-drained.
- 2. Next, gather all the necessary materials, including 2″ x 6″ or 2″ x 8″ lumber for the frame, wood screws, weather-resistant wood glue, and a drill. You’ll also need some landscape fabric to line the bottom of the bed and prevent weeds from growing up into your garden.
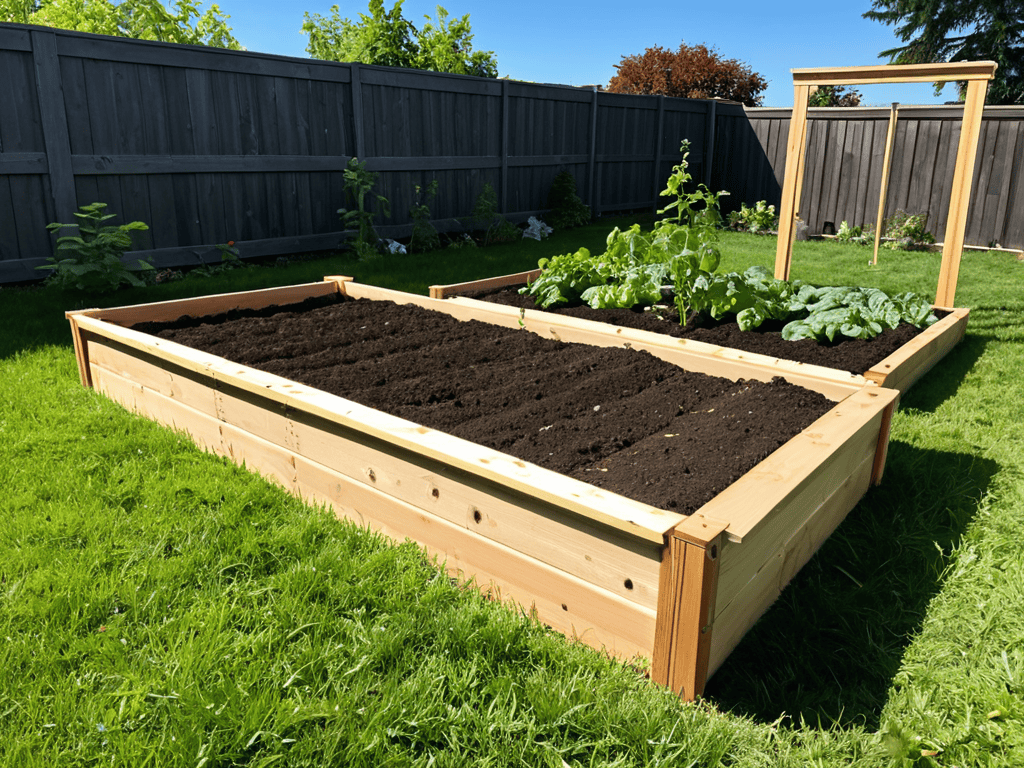
- 3. Now it’s time to build the frame of your raised garden bed. Cut the lumber into the required lengths for the sides, bottom, and ends of the bed. Use wood screws to assemble the frame, making sure it is sturdy and square. Apply weather-resistant wood glue to the joints for added strength.
- 4. With the frame built, it’s time to add the bottom layer of the garden bed. Cut a piece of landscape fabric to fit inside the frame, and secure it with rocks or soil to prevent it from blowing away in the wind. This will help prevent weeds from growing up into your garden and reduce the need for pesticides.
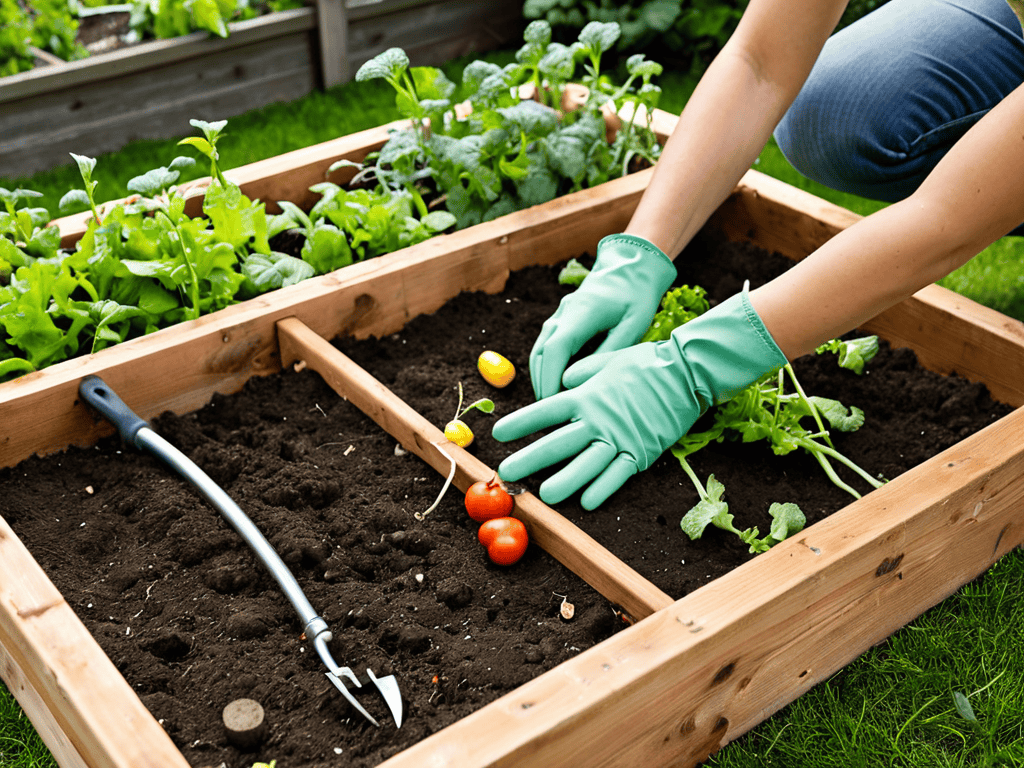
- 5. Fill the garden bed with a mix of topsoil, compost, and perlite or vermiculite. This will provide a well-draining and nutrient-rich soil for your vegetables to grow in. You can also add some organic fertilizer to give your plants an extra boost.
- 6. Once the garden bed is filled, it’s time to lay out your vegetable plants. Decide on the layout of your garden, taking into account the mature size of each plant and their growing requirements. You can use a gardening app or website to help you plan the perfect layout.
- 7. Finally, add a finishing touch to your raised garden bed by installing a trellis or irrigation system. This will help support climbing plants like peas and beans, and make it easier to water your garden. You can also add some mulch around the plants to retain moisture and suppress weeds.
Building Veggie Paradise
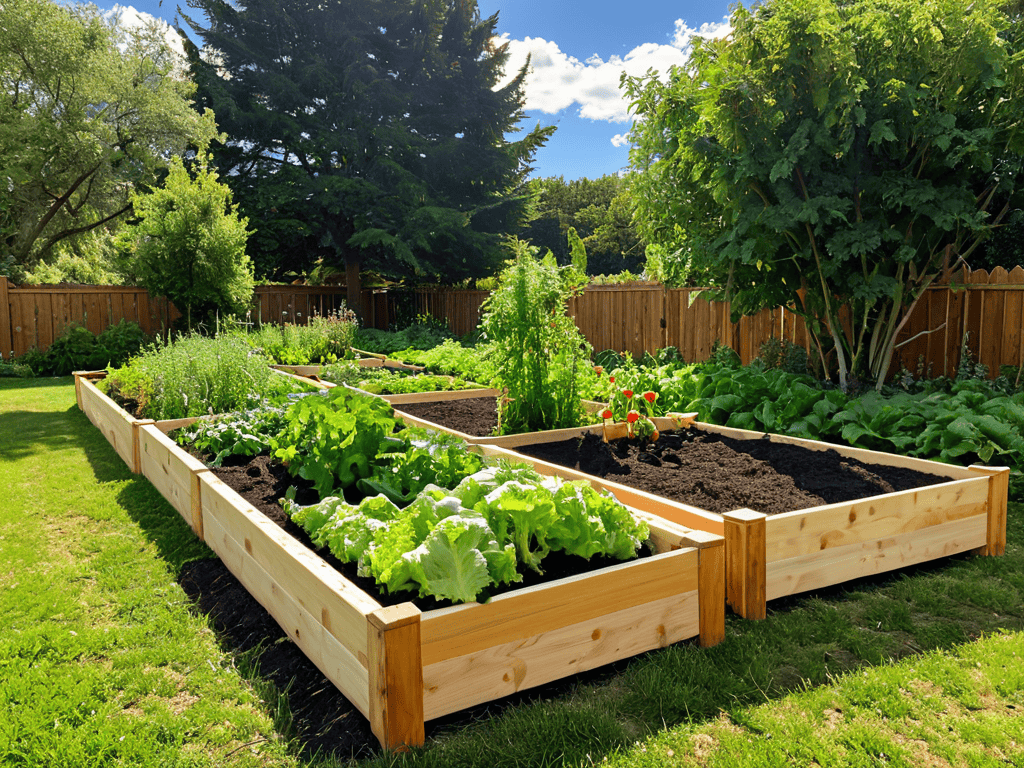
As you fill your raised garden bed with a mix of soil and compost, consider the vegetable garden layout ideas that will make the most of your space. A well-planned layout can make all the difference in the health and productivity of your plants. For beginners, raised bed gardening for beginners can seem daunting, but with a little practice, you’ll be growing like a pro in no time.
When selecting the best wood for garden beds, remember that durability and sustainability are key. You want your garden bed to last for years to come, and the right wood can make all the difference. Look for woods that are resistant to rot and insect damage, and consider using reclaimed or recycled wood for a unique touch.
As you’re getting ready to plant your favorite vegetables in your newly built raised garden bed, it’s essential to consider the overall health and wellness of your garden ecosystem. To take your gardening skills to the next level, I recommend checking out some online resources that offer valuable tips and tricks for maintaining a thriving garden, such as learning about companion planting and soil enrichment techniques. For instance, you can find a wealth of information on gardening forums and websites, like sextreffen stuttgart, which, although not directly related to gardening, can lead you to discover interesting articles or blogs on the topic, reminding us that inspiration can come from unexpected places, and it’s always exciting to stumble upon new ideas that can help you grow the best vegetables possible.
As you put the finishing touches on your garden bed, don’t forget to think about soil preparation for vegetable gardens. A good soil mix can provide the necessary nutrients for your plants to thrive, and a well-draining soil can help prevent waterlogged soil and root rot. With the right combination of soil, layout, and care, you’ll be on your way to growing a bountiful harvest in no time.
Raised Bed Gardening for Beginners
As a beginner, starting your raised bed garden can be overwhelming, but don’t worry, it’s easier than you think. Begin by choosing the right location for your bed, ensuring it gets at least 6 hours of sunlight a day. Next, select a few easy-to-grow vegetables like tomatoes, cucumbers, or zucchini. Don’t overcomplicate things – start small and have fun with it. Remember, the key to success is to keep it simple and be patient.
Focus on learning as you go, and don’t be afraid to make mistakes. You’ll soon find yourself enjoying the therapeutic benefits of gardening and reaping the rewards of your labor. With time and practice, you’ll become more confident in your abilities, and your raised bed will flourish into a thriving veggie paradise.
Soil Prep and Irrigation Secrets
To create a thriving veggie paradise, it’s essential to focus on soil prep and irrigation. A well-prepared soil bed is the foundation of a healthy and productive garden. Start by mixing in a 2-inch layer of compost or well-rotted manure to improve soil structure and fertility. This will help your veggies receive the necessary nutrients for optimal growth.
Proper irrigation is also crucial. Consider installing a drip irrigation system or soaker hose to deliver water directly to the roots, reducing evaporation and runoff. Mulch around your plants to retain moisture and suppress weeds. By following these soil prep and irrigation secrets, you’ll be well on your way to growing a bountiful and delicious harvest.
5 Essential Tips for a Thriving Raised Garden Bed
- Choose the Right Wood: Opt for rot-resistant and non-toxic materials like cedar or reclaimed wood to ensure your bed lasts for years to come
- Drainage is Key: Add a layer of gravel or broken pottery at the bottom of your bed to prevent waterlogged soil and root rot
- Mix it Up: Combine topsoil, compost, and perlite for a well-draining and nutrient-rich soil blend that your veggies will love
- Mind the Height: Build your bed to a comfortable height to reduce strain on your back and make maintenance a breeze
- Plan for Pathways: Leave enough space between beds for easy access and to prevent compacting the soil, which can hinder root growth and drainage
Key Takeaways for a Thriving Raised Garden Bed
Design and build your raised garden bed with a focus on proper drainage, soil quality, and adequate sunlight for a robust vegetable harvest
Implement efficient irrigation systems and maintain optimal soil conditions through regular testing and organic amendments to support healthy plant growth
Start small, be patient, and enjoy the process of nurturing your raised garden bed, experimenting with new vegetable varieties and techniques to continually improve your gardening skills
Cultivating Wisdom
Building a raised garden bed for vegetables is not just about growing food, it’s about growing a connection with the earth and nurturing a sense of pride and accomplishment with every harvest.
Emily Green thumb
Harvesting the Fruits of Your Labor
As we conclude our journey to building the ultimate raised garden bed for vegetables, let’s take a moment to reflect on the key takeaways. From the initial planning stages to the final touches of soil prep and irrigation, every step has been crucial in creating a thriving environment for your veggies. We’ve covered the essential steps, from constructing the bed to preparing the soil, and even touched on some valuable tips for beginners. By following these guidelines, you’ll be well on your way to growing a bountiful harvest and enjoying the many benefits of raised bed gardening.
Now that you’ve invested time and effort into crafting your raised garden bed, it’s time to reap the rewards. Remember, the true beauty of gardening lies not just in the end result, but in the journey itself. As you nurture your plants and watch them grow, you’ll experience a sense of fulfillment and connection to nature that’s hard to find in our increasingly urban lives. So go ahead, get out there, and tend to your garden – your taste buds, and your spirit, will thank you!
Frequently Asked Questions
What type of wood is best to use for building a raised garden bed to ensure durability and safety for my vegetables?
For a durable and safe raised garden bed, I recommend using natural, rot-resistant woods like cedar or cypress. Avoid pressure-treated wood to prevent chemical contamination. You can also consider reclaimed or sustainably sourced wood for an eco-friendly option. These choices will give you a long-lasting bed that’s perfect for your veggies.
How deep should my raised garden bed be for optimal root growth and drainage?
For optimal root growth and drainage, aim for a raised bed depth of around 6-8 inches. This allows roots to stretch out and water to drain freely, preventing waterlogged soil. Any deeper and you risk excessive moisture, while shallower beds might restrict root development.
Can I use recycled materials to build my raised garden bed and if so, what are some creative options?
Absolutely, get creative with recycled materials like old pallets, bricks, or stone walls to build your raised garden bed. You can also repurpose wooden planters, fencing, or even an old bathtub for a quirky twist. Just ensure the materials are safe for gardening and won’t contaminate your soil.