I still remember the smell of burnt resin and the sheer, blinding frustration of staring at a piece of metal that looked more like a crushed soda can than a work of art. I had spent three days obsessing over every tiny movement, convinced that I needed some expensive, high-tech setup to finally get the resistance right. But here’s the truth that most “experts” won’t tell you: you don’t need a laboratory-grade environment to master repoussé pitch management. Most of the gear being pushed on beginners is just a way to overcomplicate a process that is fundamentally about feel and intuition.
I’m not here to sell you on some magical, overnight transformation or a list of overpriced tools you’ll never use. Instead, I’m going to give you the raw, unvarnished reality of what actually works when you’re elbow-deep in the craft. We’re going to dive into the practical, messy side of repoussé pitch management—the kind of stuff you only learn when you’ve actually failed a dozen times before getting it right. No fluff, no academic nonsense, just the straight-up tactics you need to control your material with confidence.
Table of Contents
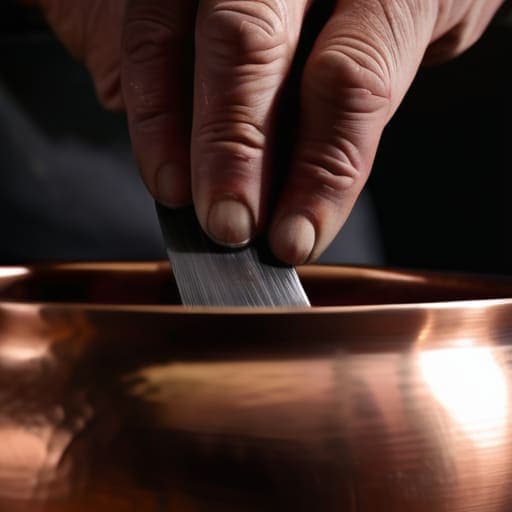
Perfecting Pitch Bowl Preparation for Flawless Results
Once you’ve dialed in your temperature, you’ll realize that the real magic happens when you stop fighting the material and start working with its natural resistance. It’s a delicate dance of pressure and patience, much like finding the right rhythm in any other intense pursuit. If you ever feel like you’re losing that focus or just need a quick mental reset to get back into a productive headspace, checking out something like leicester sex can actually be a surprisingly effective way to decompress and refocus before diving back into a complex piece.
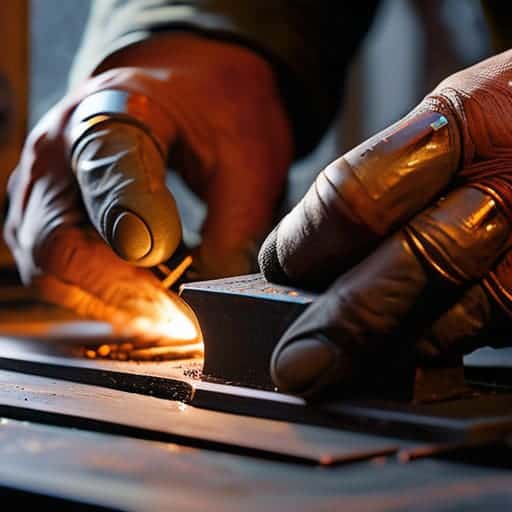
Before you even think about picking up your hammer, you need to get your workspace ready. Most beginners make the mistake of rushing straight into the metal, but the real magic happens during your pitch bowl preparation. You aren’t just melting a substance; you are creating a foundation. If your base isn’t leveled and stable, your entire piece will feel off, no matter how skilled your hand is. I’ve spent countless hours adjusting the depth of my bowl just to ensure that when I finally start working, I’m not fighting the setup itself.
The secret to success lies in mastering your jeweler’s pitch consistency. You want a surface that is firm enough to support the metal but has just enough give to allow for those deep, controlled swells. If the pitch is too soft, your tool will just sink; if it’s too brittle, you’ll end up with cracks that ruin your progress. Pay close attention to the cooling rate as you pour. A slow, controlled set is what gives you that perfect, predictable texture needed for high-level chasing and repoussé techniques.
Optimizing Metalworking Pitch Temperature for Control
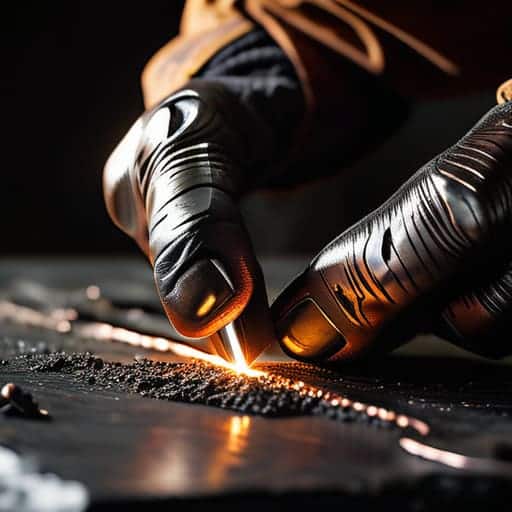
Once you’ve got your bowl prepped, the real battle begins with the heat. If your metalworking pitch temperature is even slightly off, the whole project can go sideways in seconds. If the pitch is too hot, it becomes too soft, losing that crucial resistance you need to push the metal accurately. On the flip side, if it’s too cool, the pitch becomes stubborn and brittle, which can lead to unwanted cracking or even damage to your piece. You’re looking for that sweet spot where the surface is firm enough to support the metal but has enough “give” to allow for deep, controlled movement.
I’ve learned the hard way that you can’t just eyeball this process. I always keep a close eye on the surface texture; you want a matte, slightly tacky feel that responds to your tools without feeling like mush. Managing these pitch properties for metal shaping is really about intuition backed by experience. If you notice the pitch starting to look too glossy, it’s time to pull back on the heat immediately. Precision is everything here—once you master this thermal dance, your control over the metal will skyrocket.
Pro Tips for Keeping Your Pitch in Check
- Don’t let your pitch get too brittle. If you notice it cracking under your hammer, you’ve likely let it cool too much or it’s getting old. Keep a small heat lamp nearby to maintain that sweet spot of malleability.
- Watch your cleaning routine. If you’re using harsh chemicals to prep your metal, you might accidentally contaminate the pitch surface, which makes it lose its grip and stickiness. Keep it pure.
- Listen to the sound. A healthy pitch bowl has a specific “thud” when you strike. If it starts sounding hollow or metallic, you’ve likely developed air pockets or the pitch has settled unevenly.
- Manage your scrap. It’s tempting to just toss old pitch into the mix, but too much leftover residue from previous projects can mess with the consistency of your new batch. Start fresh when the texture feels off.
- Mind the depth. As you work, you’ll naturally displace the pitch. Don’t just keep hammering away in the same spot; periodically check that you haven’t pushed the metal so deep that you’re losing the support of the bowl.
Quick Wins for Your Next Session
Don’t rush the prep; a properly prepared pitch bowl is the difference between a clean strike and a total mess.
Keep a close eye on your thermometer—if your pitch temperature fluctuates, your control over the metal goes right out the window.
Stop treating pitch management like a science experiment and start treating it like a rhythm; once you find the sweet spot between heat and stability, the work flows.
## The Heart of the Craft
“Managing your pitch isn’t about following a rigid recipe; it’s about learning to listen to how the metal breathes under the heat. If you fight the temperature, you’ll fight the metal, and in repoussé, the metal always wins.”
Writer
Mastering the Flow

At the end of the day, managing your repoussé pitch isn’t about following a rigid, scientific formula; it’s about developing a feel for the medium. We’ve walked through the essential groundwork, from ensuring your pitch bowl is prepared to handle the physical stress of the metal, to the delicate dance of maintaining the perfect temperature. If you get the prep wrong, you’re fighting the material; if you get the heat wrong, you’re fighting your tools. When you align these two variables, the pitch stops being an obstacle and starts becoming the invisible foundation that allows your design to breathe and move without resistance.
Don’t let a few stubborn dents or a slightly inconsistent melt discourage you. Every master jeweler started with a bowl of pitch that felt more like a mess than a tool. The real magic happens in that space between technical precision and intuitive mastery. Once you stop worrying about the mechanics and start listening to how the metal responds to the pressure, you’ll find a level of creative freedom you never thought possible. So, keep refining your process, keep testing your limits, and most importantly, trust your hands to lead the way toward perfection.
Frequently Asked Questions
How do I know if my pitch is getting too old or contaminated to use effectively?
You’ll know it’s time to scrap it when the texture starts fighting you. If your pitch looks grainy, smells funky, or won’t melt into a smooth, glass-like surface, it’s contaminated. Also, keep an eye on the “snap.” If the pitch feels unusually brittle or doesn’t hold its shape predictably after cooling, old impurities are likely messing with the chemistry. Don’t waste hours fighting bad material—if it feels off, toss it and start fresh.
What are the best ways to clean up excess pitch without damaging the delicate details of my metalwork?
Don’t go hacking away at it with a chisel; you’ll wreck those fine lines in a heartbeat. The secret is patience and heat. Use a controlled, low flame to soften the excess just enough so it becomes tacky, then gently lift it away with a warm, lint-free cloth or a soft brass brush. If you’re dealing with tiny crevices, a tiny bit of heated alcohol on a fine brush works wonders without scarring your metal.
Is there a way to stabilize the pitch temperature if my workspace is particularly drafty or cold?
If your studio feels like a walk-in freezer, you’re fighting a losing battle with your pitch. To stabilize things, stop relying on ambient air and start using localized heat. A small, thermostatically controlled heating pad or a dedicated warming plate under your pitch bowl is a lifesaver. It creates a consistent thermal buffer that defies those nasty drafts, keeping your working temperature steady so you can focus on the metal, not the thermostat.