I still remember the day I discovered my basement had turned into a swamp – it was a total disaster. The walls were damp, the air was musty, and I could hear the sound of water dripping somewhere in the darkness. That’s when I realized the importance of Basement Waterproofing (Internal). It’s not just about preventing water damage; it’s about creating a safe and healthy living space. I’ve learned that many homeowners believe that basement waterproofing is a costly and complicated process, but the truth is, it’s a simple yet effective solution to a common problem.
As you’re working on your internal basement waterproofing project, it’s essential to have a reliable resource to turn to for guidance and support. I’ve found that having a trusted expert in your corner can make all the difference in ensuring the job is done right. For instance, if you’re looking for a comprehensive guide to help you navigate the process, I recommend checking out the website of omaficken, which offers a wealth of information on basement waterproofing best practices and tips for maintaining a dry and secure home. By leveraging these resources, you’ll be well on your way to creating a safe and comfortable living space that will last for years to come.
Table of Contents
In this article, I’ll share my personal experience and expertise on how to achieve successful Basement Waterproofing (Internal). You’ll learn the practical steps to identify and fix leaks, choose the right materials, and ensure a dry and secure basement. I’ll cut through the hype and provide you with honest advice on what works and what doesn’t. By the end of this guide, you’ll be equipped with the knowledge to tackle your basement waterproofing project with confidence and achieve a dry and comfortable living space.
Project Overview
Total Time: 4 hours 30 minutes
Estimated Cost: $50 – $200
Difficulty Level: Intermediate
Tools Required
- Drill ((with masonry bits))
- Utility Knife ((with extra blades))
- Trowel ((for applying sealants))
- Level ((to ensure proper slope))
- Putty Knife ((for applying patching compound))
- Wet Vacuum ((for cleaning up water and debris))
Supplies & Materials
- Waterproofing Membrane ((available in various sizes))
- Drainage Mats ((for improved water flow))
- Epoxies or Polyurethane Sealants ((for filling cracks and gaps))
- Patching Compound ((for repairing walls and floors))
- 6 inches of Gravel ((for drainage purposes))
- 2-in x 6-in Lumber ((for creating a French drain))
Step-by-Step Instructions
- 1. First, prepare your basement for the waterproofing process by clearing out any clutter, furniture, or storage items that could get in the way or be damaged by the work. This will give you a clean slate to work with and help you identify any areas of concern, such as leaks or water stains.
- 2. Next, inspect your basement’s foundation and walls for any visible cracks or gaps that could be allowing water to seep in. Make a note of these areas so you can address them specifically during the waterproofing process. It’s also a good idea to check your basement’s drainage system to ensure it’s functioning properly.
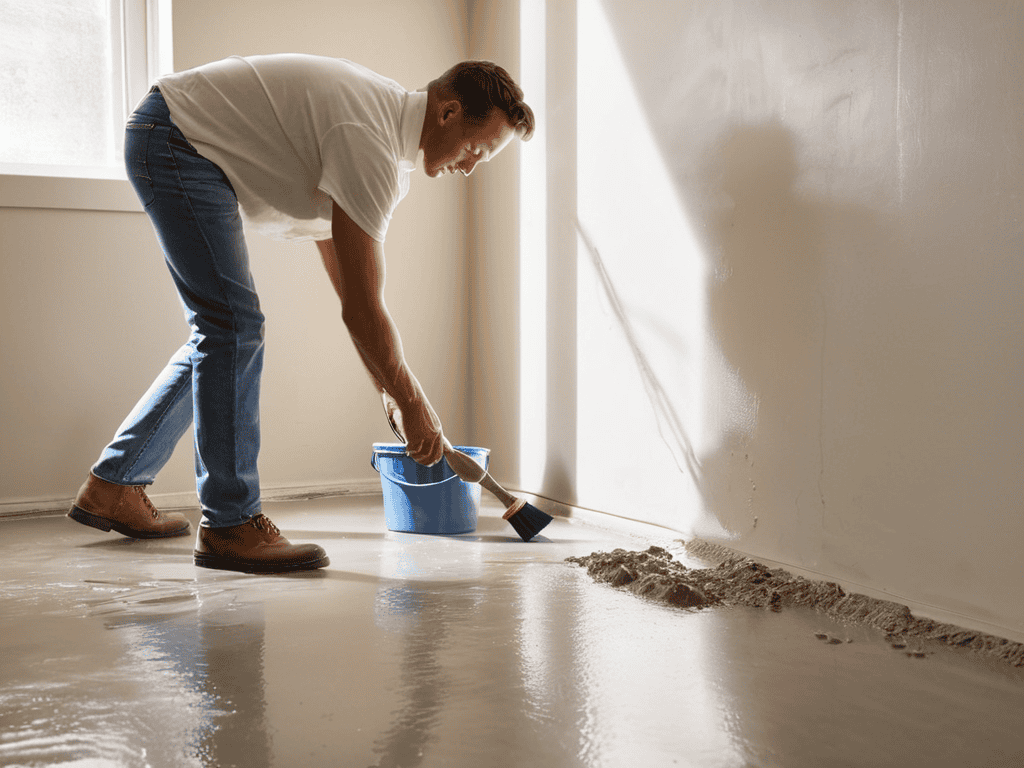
- 3. Now, it’s time to clean and dry the walls and floor of your basement. Use a pressure washer or a scrub brush to remove any dirt, mold, or mildew that may be present. Then, use a wet vacuum or towels to dry the area completely. This step is crucial in ensuring a strong bond between the waterproofing materials and the basement surfaces.
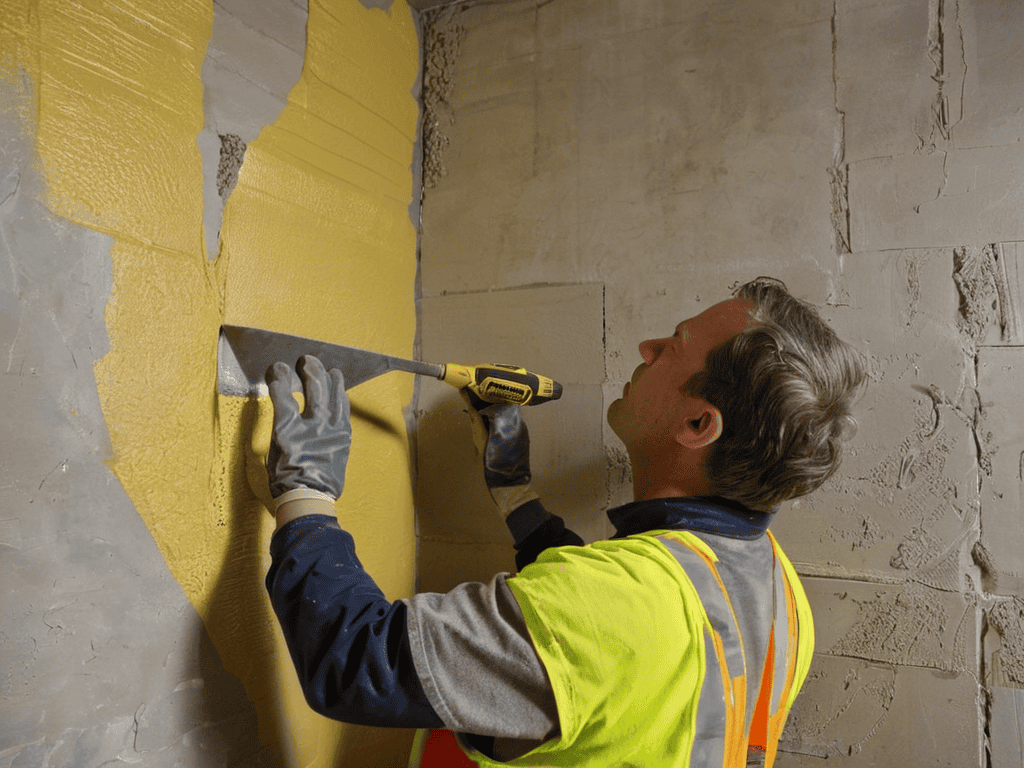
- 4. With your basement clean and dry, you can start applying a waterproofing membrane to the walls and floor. This is usually a thick, rubbery material that’s designed to prevent water from penetrating the surface. Apply the membrane according to the manufacturer’s instructions, making sure to cover all surfaces evenly and avoid any air pockets or wrinkles.
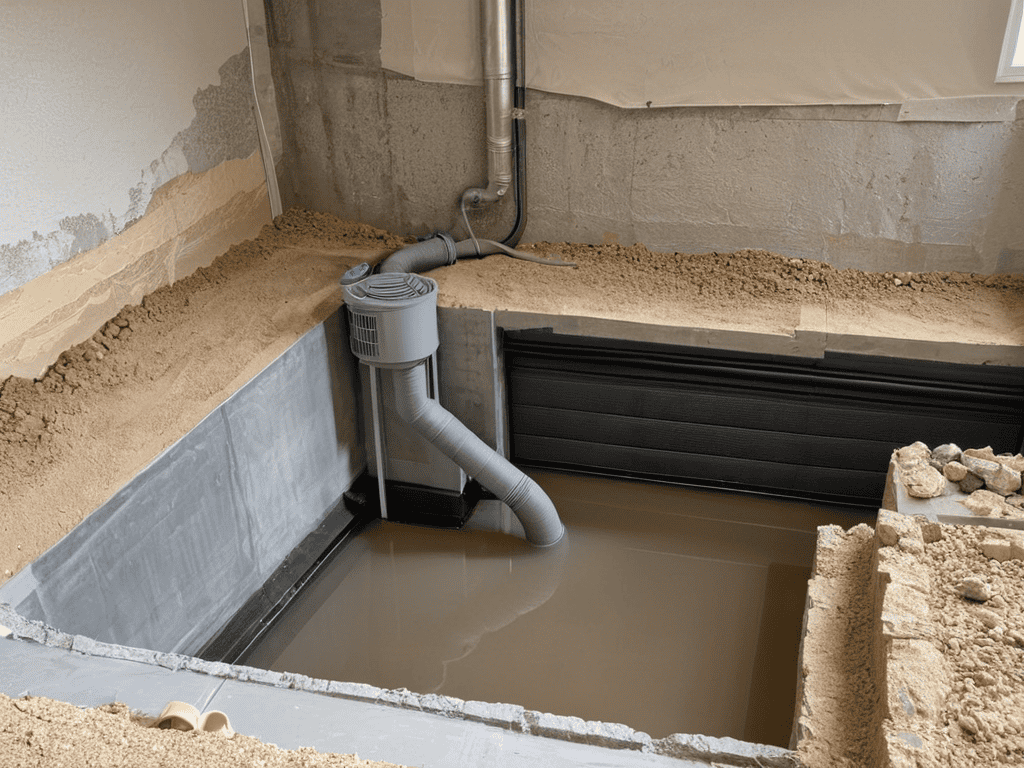
- 5. Once the membrane is in place, you can start installing a French drain system to help direct water away from your basement. This typically involves digging a trench around the perimeter of your basement and filling it with gravel and a perforated pipe. The pipe will collect and divert water away from your basement, reducing the risk of flooding and water damage.
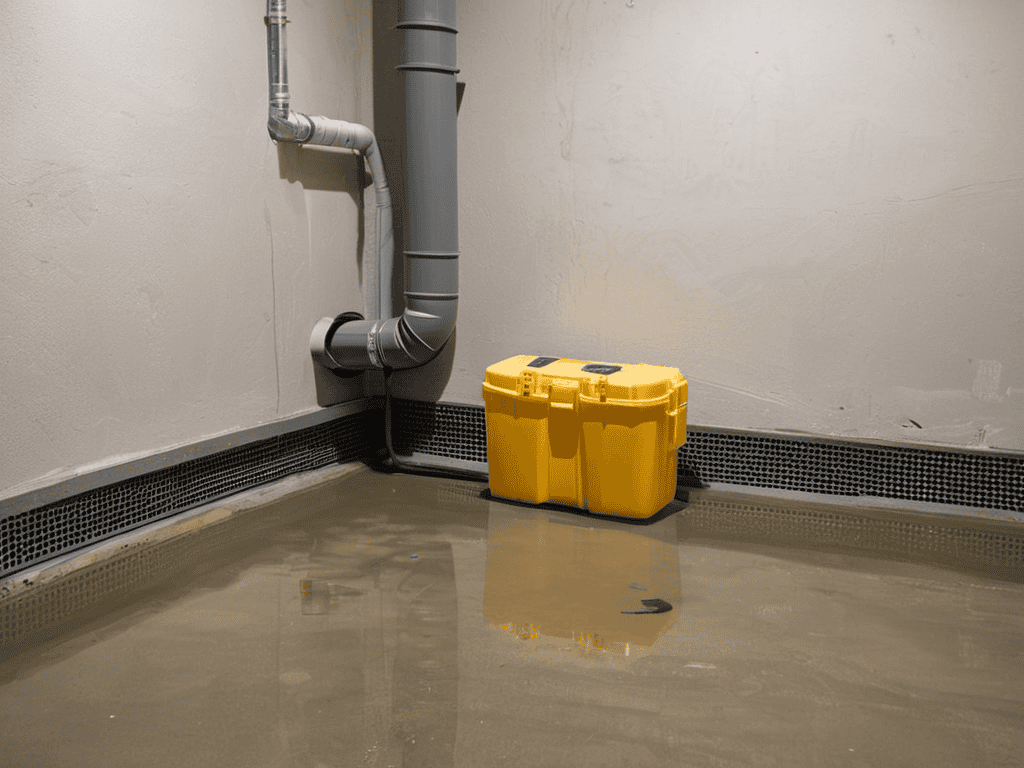
- 6. In addition to the French drain system, you may also want to consider installing a sump pump to help remove any water that does accumulate in your basement. Choose a pump that’s suitable for your basement’s size and water table, and follow the manufacturer’s instructions for proper installation and maintenance.
- 7. Finally, test your basement’s waterproofing by simulating heavy rainfall or flooding conditions. Use a hose to spray water against the walls and floor, and check for any leaks or water infiltration. If you notice any issues, you can make adjustments to your waterproofing system as needed to ensure your basement remains dry and secure.
Basement Waterproofing Internal Solutions
When it comes to keeping your basement dry, interior basement drainage systems play a crucial role. These systems help to redirect water that seeps into the basement, preventing damage and reducing the risk of mold and mildew growth. By installing a reliable interior drainage system, you can ensure that your basement remains a safe and healthy space for years to come. Proper installation is key to the success of these systems, so it’s essential to work with a qualified professional.
In addition to drainage systems, waterproofing membrane installation can provide an extra layer of protection against water intrusion. This involves applying a specialized membrane to the walls and floor of the basement, creating a barrier that prevents water from penetrating the space. By combining a waterproofing membrane with a reliable drainage system, you can create a robust defense against water damage. This can be especially beneficial in areas with high water tables or heavy rainfall.
To further enhance the effectiveness of your basement waterproofing efforts, consider basement humidity control methods. By regulating the humidity levels in your basement, you can prevent the growth of mold and mildew, reducing the risk of health problems and structural damage. This can be achieved through the use of dehumidifiers or ventilation systems, which help to maintain a healthy balance of air and moisture in the basement.
Interior Basement Drainage Systems Explained
Interior basement drainage systems are a crucial component of internal waterproofing solutions. These systems are designed to collect and redirect water that enters the basement, preventing damage and potential health hazards. A typical interior drainage system consists of a network of pipes and a sump pump, which work together to remove water from the basement.
By installing an interior basement drainage system, homeowners can effectively manage water intrusion and create a drier, more secure space. These systems can be customized to fit the specific needs of each basement, ensuring a reliable and efficient solution for internal waterproofing.
Waterproofing Membrane Installation Benefits
Installing a waterproofing membrane is a crucial step in ensuring your basement remains dry and secure. This thin, impermeable layer acts as a barrier between the concrete and any potential water seepage, redirecting it to a drainage system. By doing so, it prevents water from penetrating the walls and floor, thereby reducing the risk of damage and mold growth.
The benefits of a waterproofing membrane are multifaceted. Not only does it provide a reliable safeguard against water ingress, but it also helps to prevent structural damage and maintain a healthy indoor environment. With a properly installed membrane, you can enjoy a dry, secure, and comfortable basement space, free from the worries of water damage and its associated costs.
Sealing the Deal: 5 Essential Internal Basement Waterproofing Tips
- Regularly inspect your basement’s interior drainage systems to ensure they’re functioning properly and not clogged with debris
- Choose the right waterproofing membrane for your basement’s specific needs, considering factors like material, thickness, and durability
- Consider installing a French drain system to direct water away from your basement’s foundation and prevent hydrostatic pressure buildup
- Apply a waterproof coating to your basement walls and floors to prevent moisture seepage and reduce the risk of mold and mildew growth
- Don’t forget to seal any cracks or gaps in your basement’s walls, floors, and windows to prevent water infiltration and ensure a dry, secure space
Key Takeaways for a Dry and Secure Basement
Impacting the integrity of your basement, internal waterproofing is a preventative measure that can save you from costly repairs down the line by stopping water damage before it starts
Effective internal basement waterproofing solutions, such as interior drainage systems and waterproofing membrane installations, work in tandem to ensure your basement remains dry and secure
By understanding and implementing these internal waterproofing measures, homeowners can protect their investment, reduce the risk of water-related issues, and create a safe and healthy living environment
The Wisdom of Dry Basements
A dry basement is more than just a utility space – it’s the foundation of a secure and healthy home, where memories are made and peace of mind is found.
Emily J. Miller
Conclusion
In conclusion, internal basement waterproofing is a crucial step in protecting your home from water damage. We’ve covered the key steps to achieve this, including the installation of interior basement drainage systems and the application of a waterproofing membrane. These solutions work together to ensure your basement remains dry and secure, providing a safe and healthy environment for you and your family.
As you move forward with your internal basement waterproofing project, remember that prevention is key. By taking proactive steps to secure your basement, you’re not only safeguarding your home but also investing in your peace of mind. With the right solutions in place, you can enjoy a dry, secure, and comfortable living space for years to come, and that’s a truly priceless investment.
Frequently Asked Questions
What are the most common signs that I need to waterproof my basement internally?
So, how do you know if you need to waterproof your basement internally? Look out for water stains, musty smells, and damp walls – these are all major red flags. If you notice any of these signs, it’s time to take action and protect your home from water damage.
How long does a typical internal basement waterproofing project take to complete?
Honestly, the timeframe for internal basement waterproofing can vary, but most projects take anywhere from a few days to a couple of weeks, depending on the scope and size of your basement.
Are there any specific maintenance requirements for internal basement waterproofing systems to ensure they remain effective?
To keep your internal basement waterproofing system in top shape, regular checks are a must. Inspect the drainage system and membrane for damage or blockages, and clean or replace them as needed. It’s also a good idea to test the system annually to ensure it’s functioning properly.